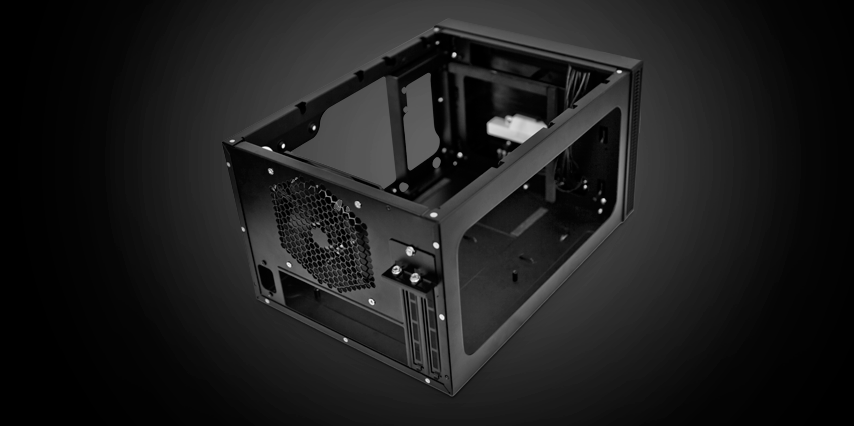
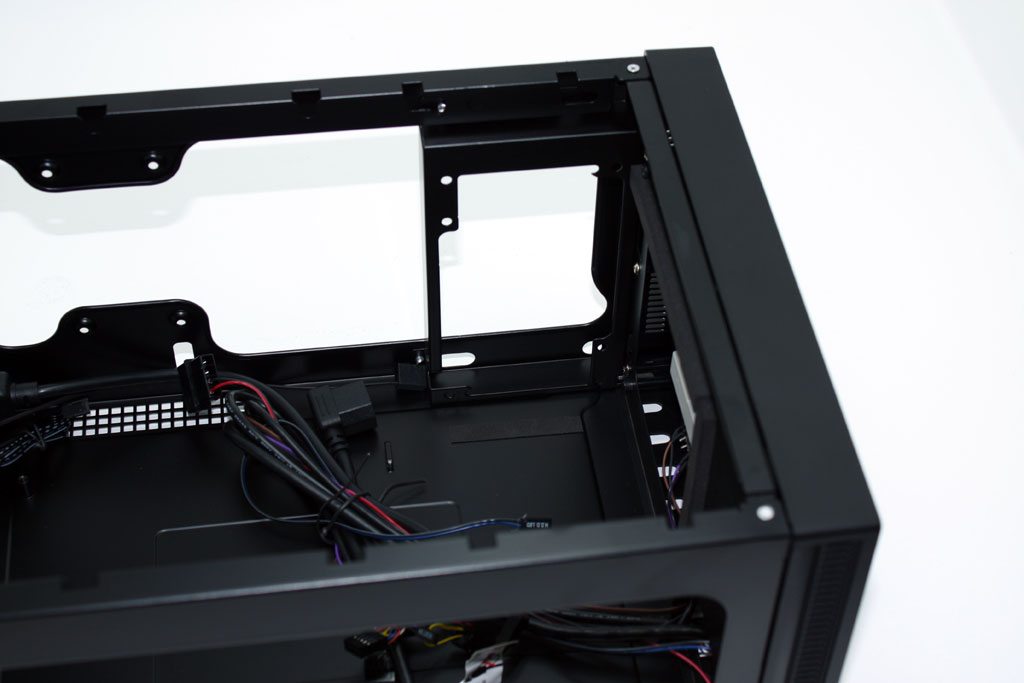
If you notice, I did not mention anything about a removable side panel. This is because there isn’t one. Instead, 3 thumbscrews hold the single classic AT style lid in place. When removed, the ISK600’s glorious interior is revealed… and it is glorious.
To start, once the lid is removed, you are presented immediately with two removable trays. Each of these removable trays are lined with anti-vibration materials and rest nicely in some simple cutouts in the frame. No tools are required for removal, just pull them up and out to remove them.
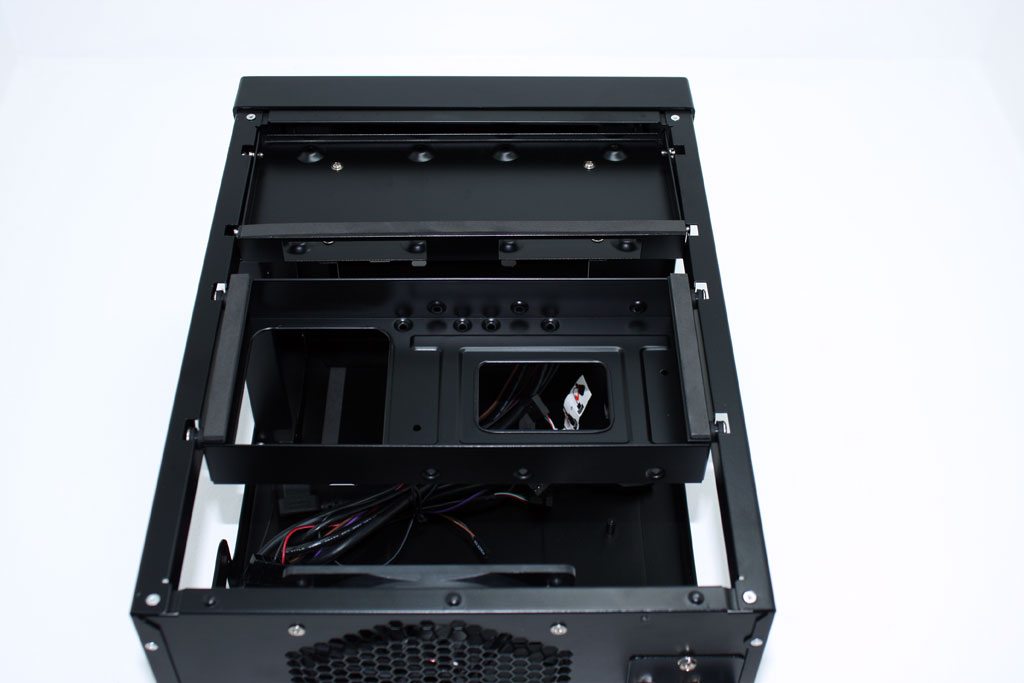

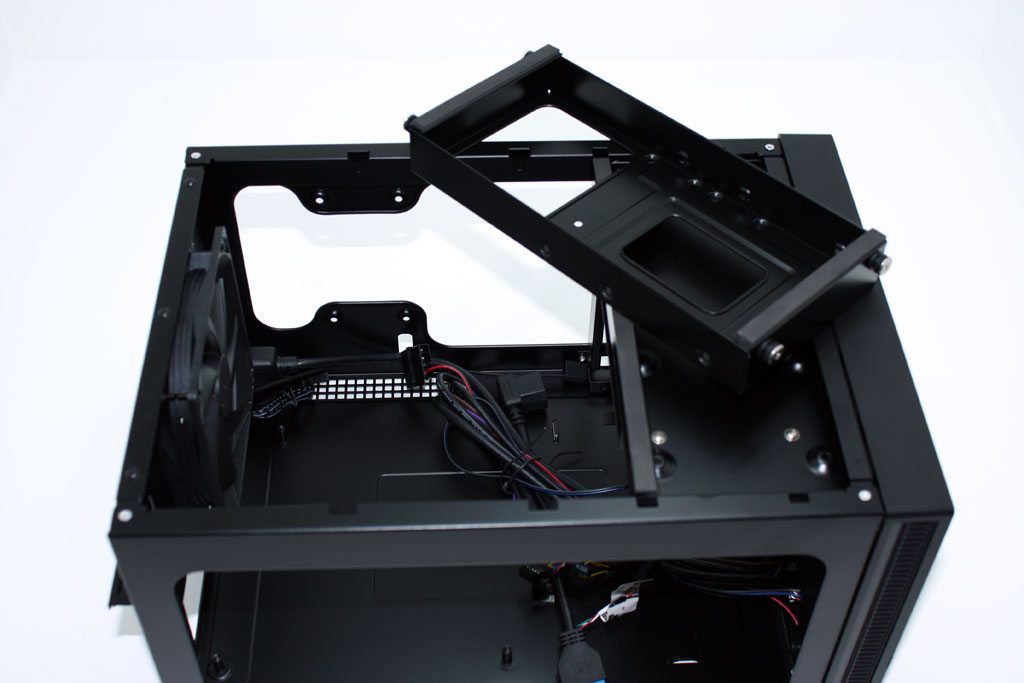

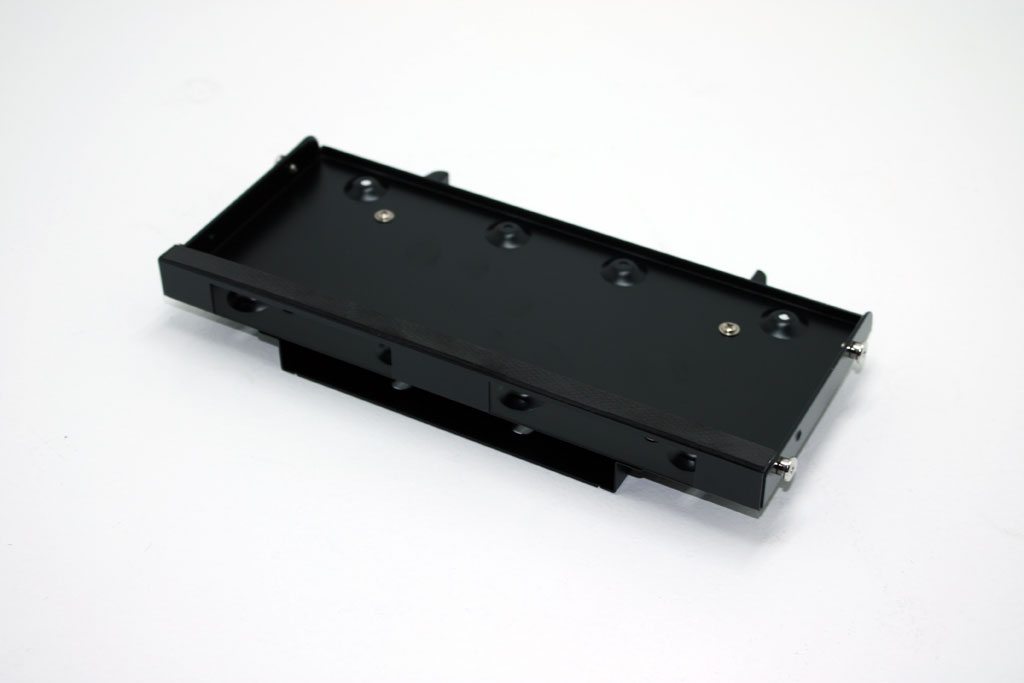
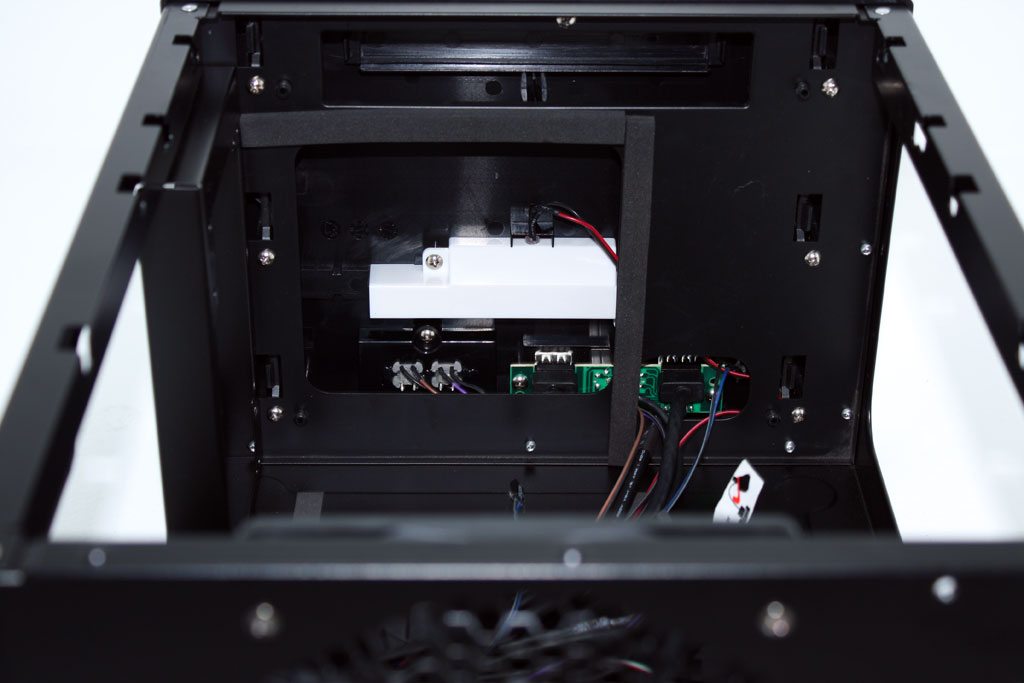
The first tray, closest to the front of the case can support two 2.5″ drives and a slim optical drive. This tray is actually two pieces. The slim optical mount can be removed to install your 2.5″ drives, but it isn’t necessary. There are screw cutouts for quick and easy access.
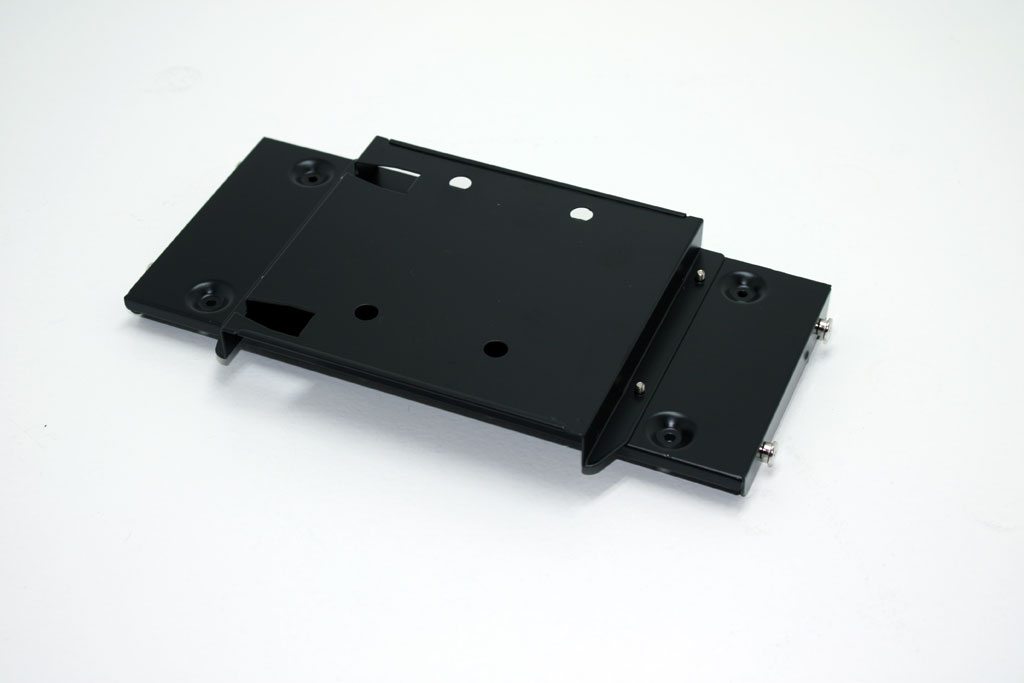
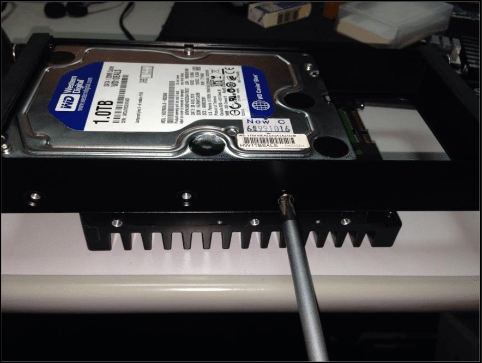
The second of the trays is designed to hold 2 of the 3 internal 3.5″ hard drives. When installed, they will be staggered. If you are using a larger heatsink, don’t count on being able to install a drive on the bottom. The bottom drive uses the HDDs bottom side mounting points while the top can use the HDD sides or bottom. The large cutout provides you with some wiring options for your hard drives. Personally, my HTPC, or PC for that matter, do not use any 3.5″ HDDs so the tray is resting comfortably on my “junk” shelf and will remain their until the case is decommissioned.
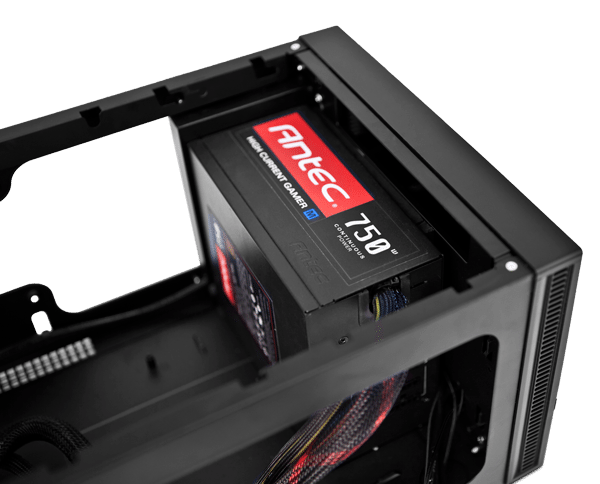
Up front, just below these trays, is the area dedicated to your PSU. The area is lined with anti-vibration materials and the intake fan on your PSU is positioned to pull air through the front bezel. The ISK600 uses an extension for your Power Supply cable to keep the power plug in the back while having the PSU in the front. If you peak to the left, the frame of the ISK600 provides the third option for a 3.5″ HDD.
It may be important for you to note that if you use a HUGE video card, I can almost guarantee that you will end up with some spacing issues. Although the case states it can support large video cards and standard PSUs, it can get a bit snug and you will need to take into consideration the PSU wiring. If you don’t have a modular PSU, you should probably consider one for a build in this case.
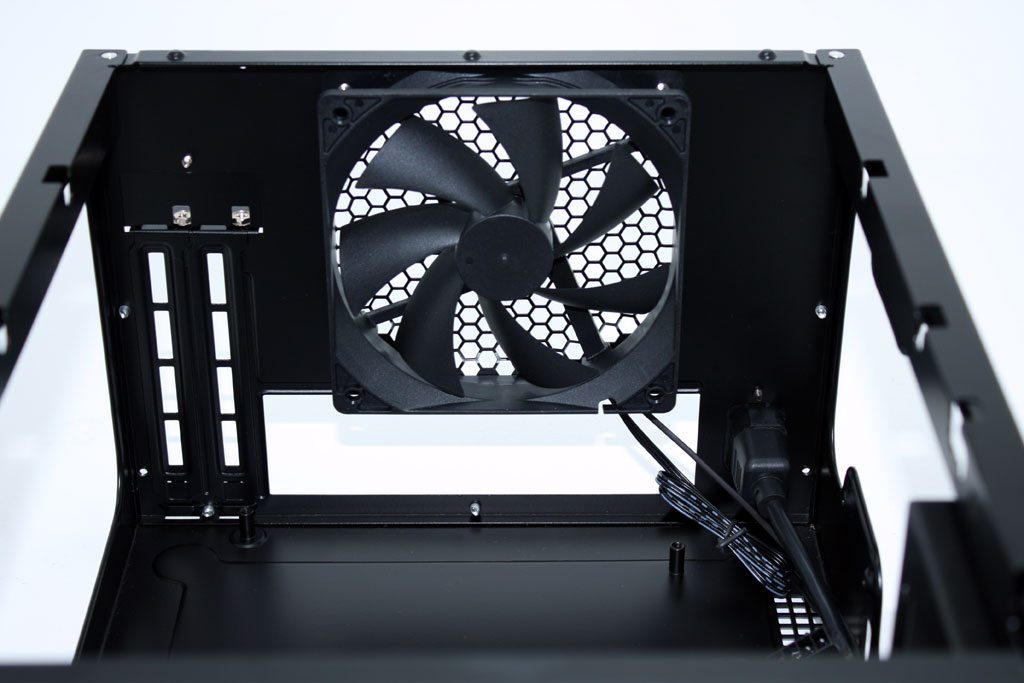
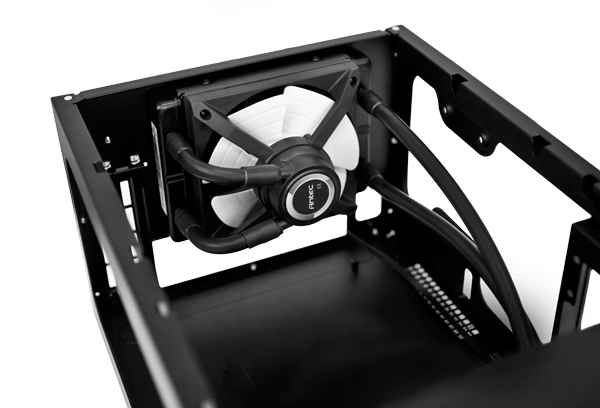
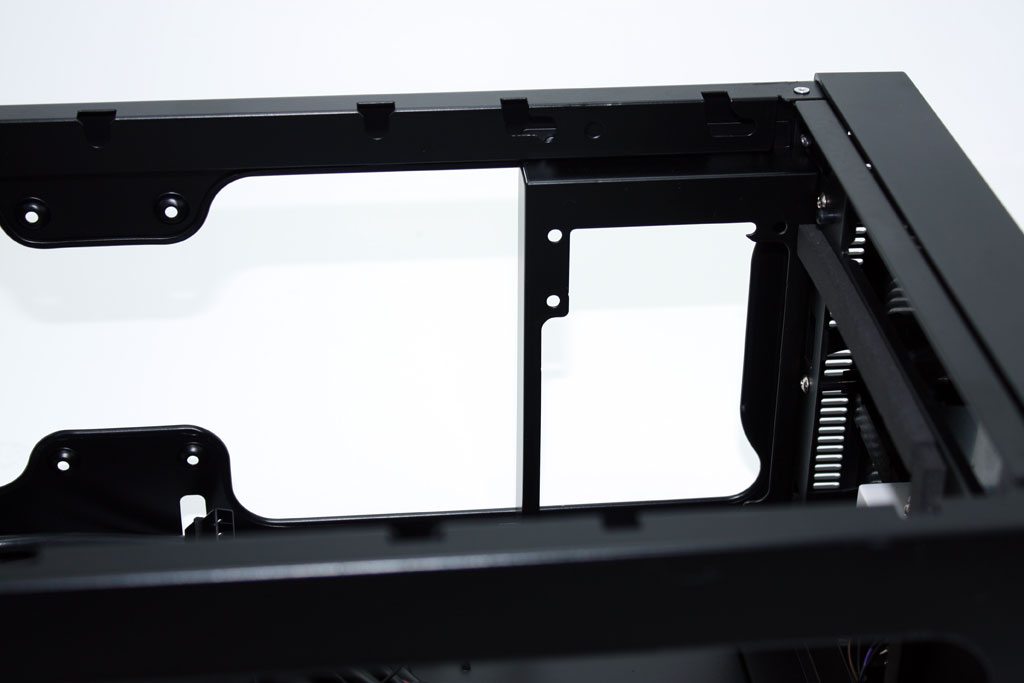
The motherboard is installed just below the exhaust fan on pre-installed motherboard standoffs. There is enough clearance above the motherboard to install one of Antec’s (or another) self-contained water-cooling units, such as the KÜHLER H2O 650.