Creating RAID
Now that OMV is able to see your HighPoint RocketRAID 2720GSL, you can scan for disks to create your RAID array. Time to log back into the administration interface using the IP address assigned to your new OpenMediaVault NAS.
Navigate through the menu panels to Storage – Physical Disks.
You may see that your hard drives are present; if they are not already present, click the “Scan” button at the top of the page.
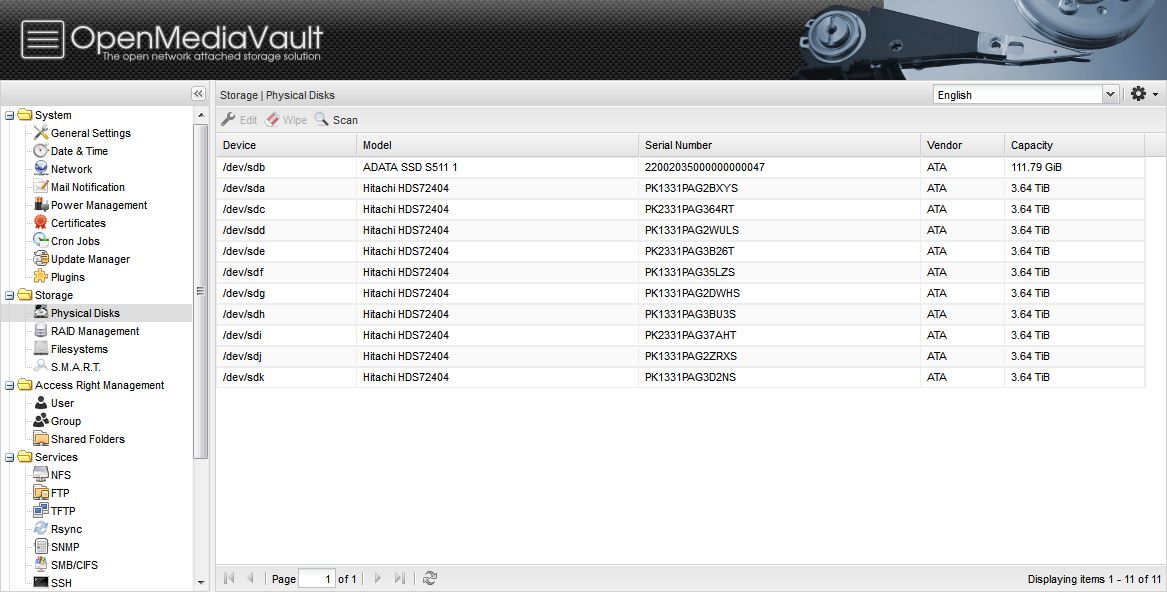
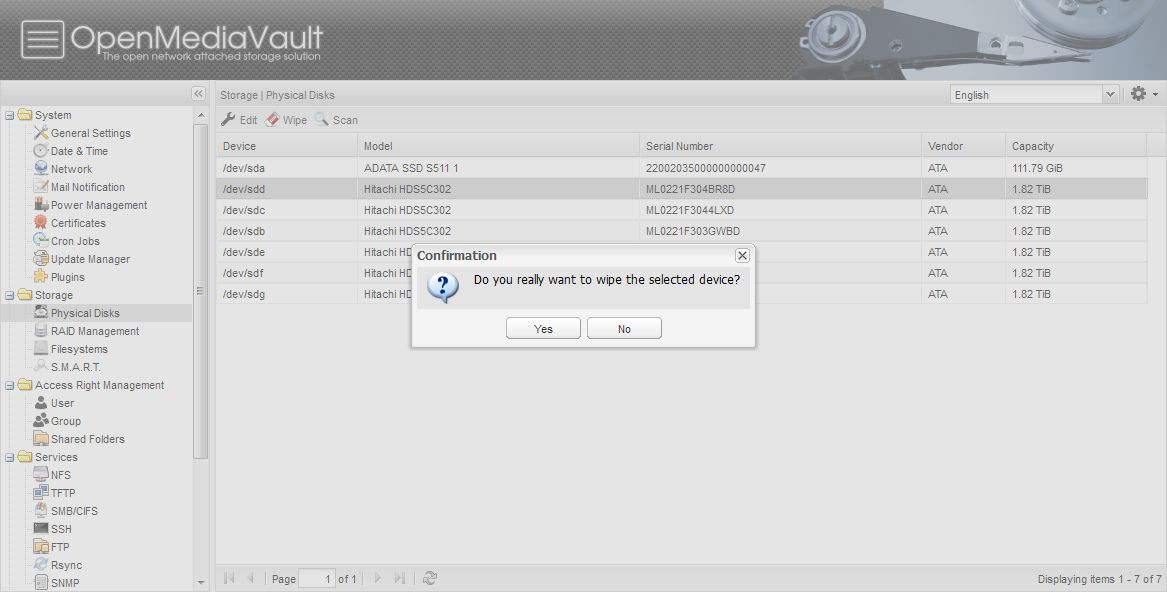
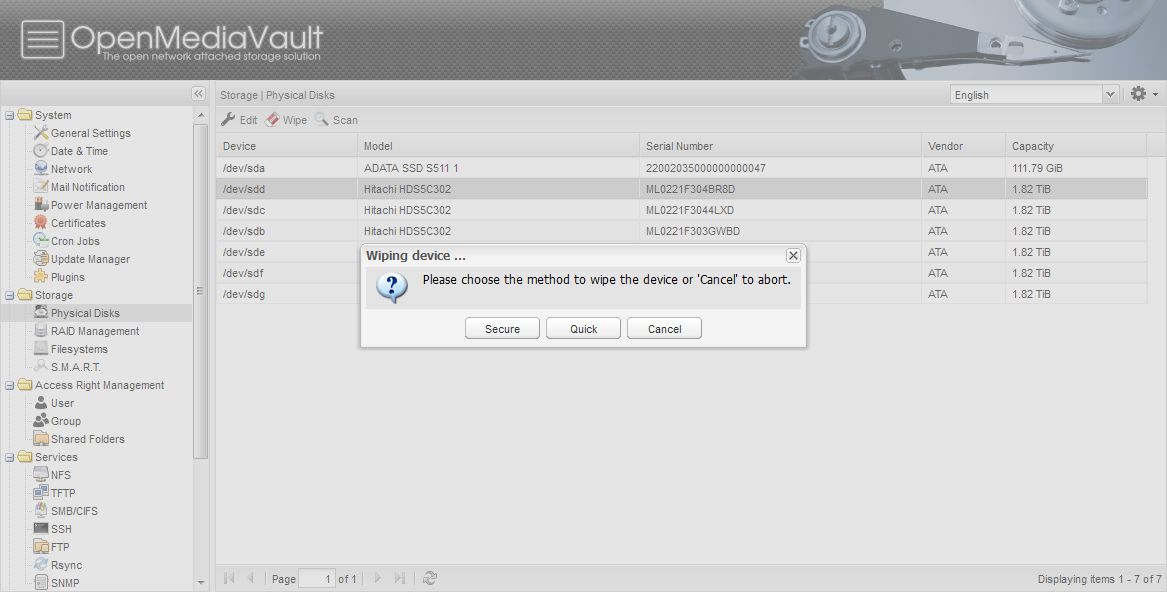
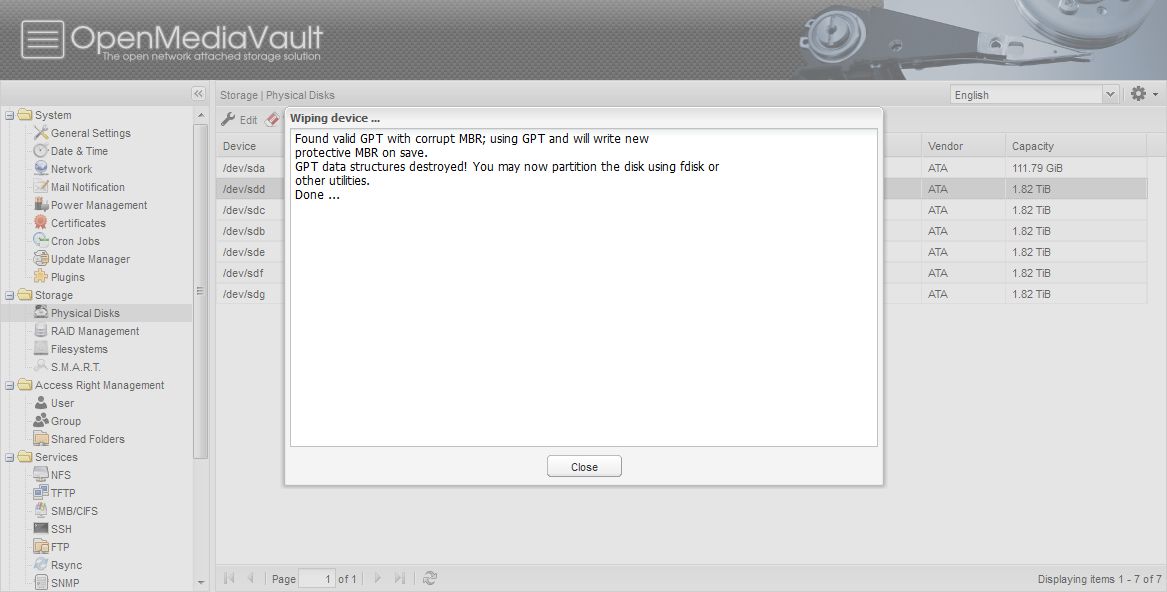
It may be a good idea to go through the hard drives one by one and “Wipe” them. Drives pulled from systems that have data present may present an issue when trying to add to a RAID array. The prompts will guide you through the wipe, and selecting the option for a Quick wipe is the way to go.
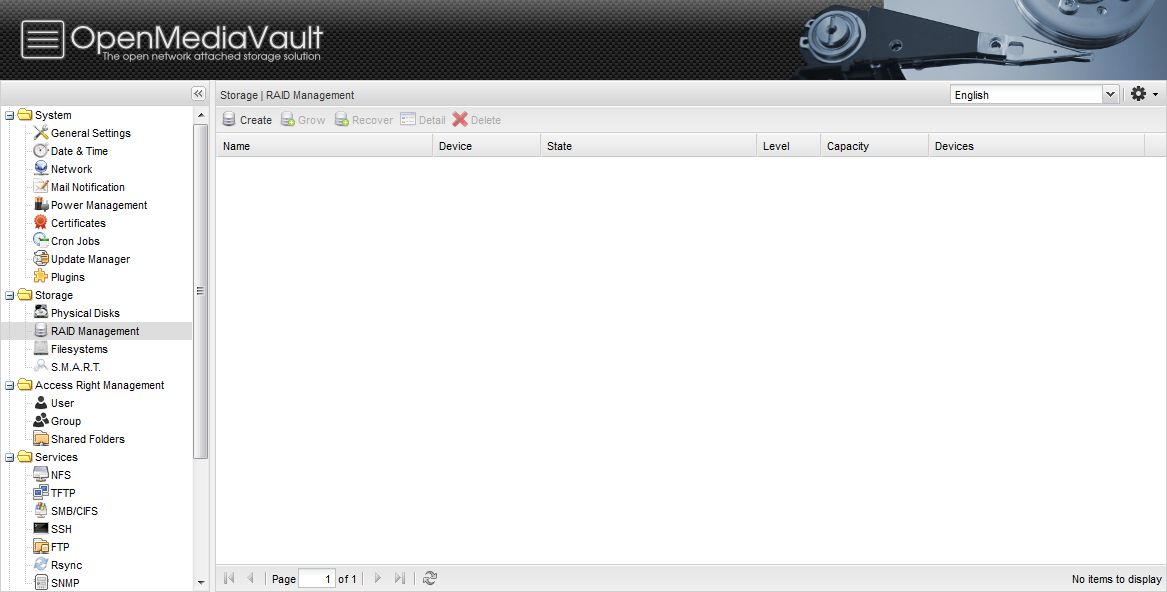
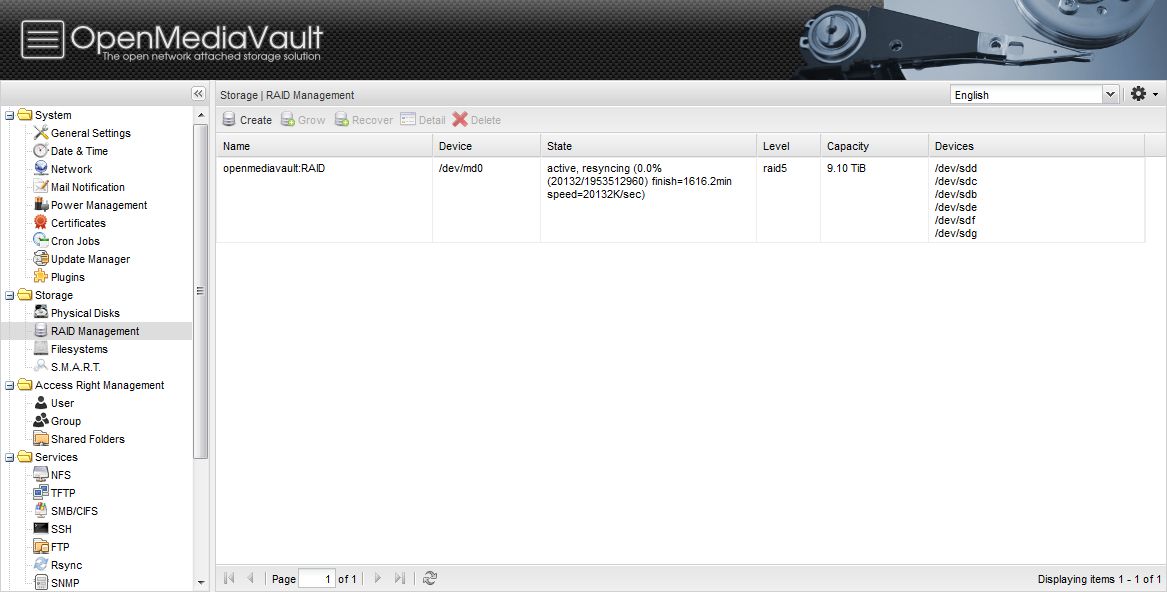
After all your hard drives are accounted for, you can create your RAID array by navigating to RAID Management under Storage.
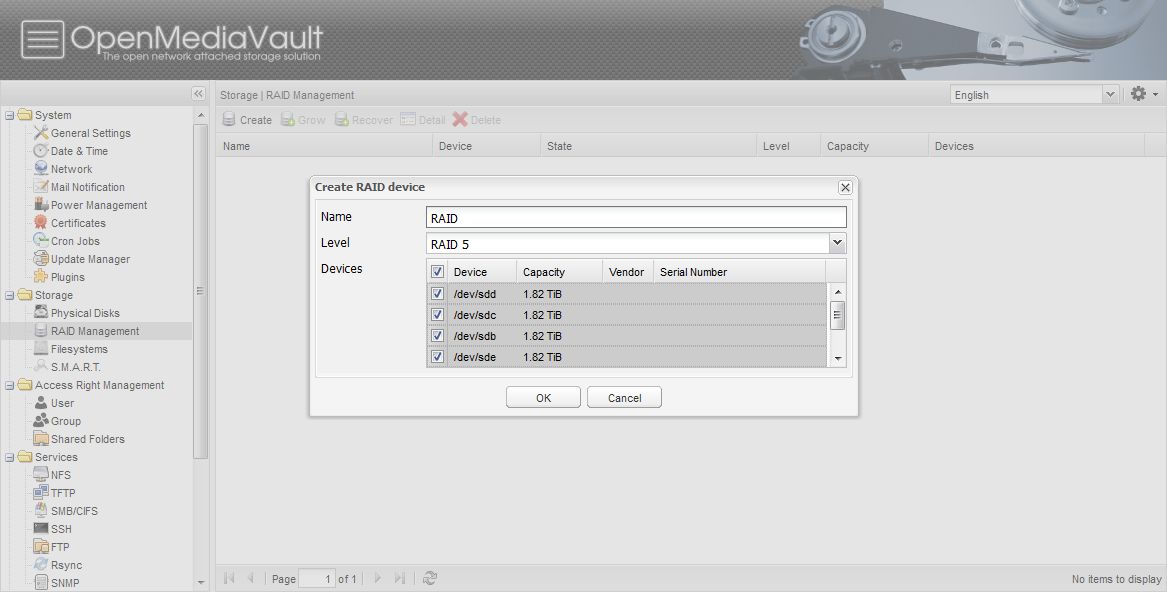
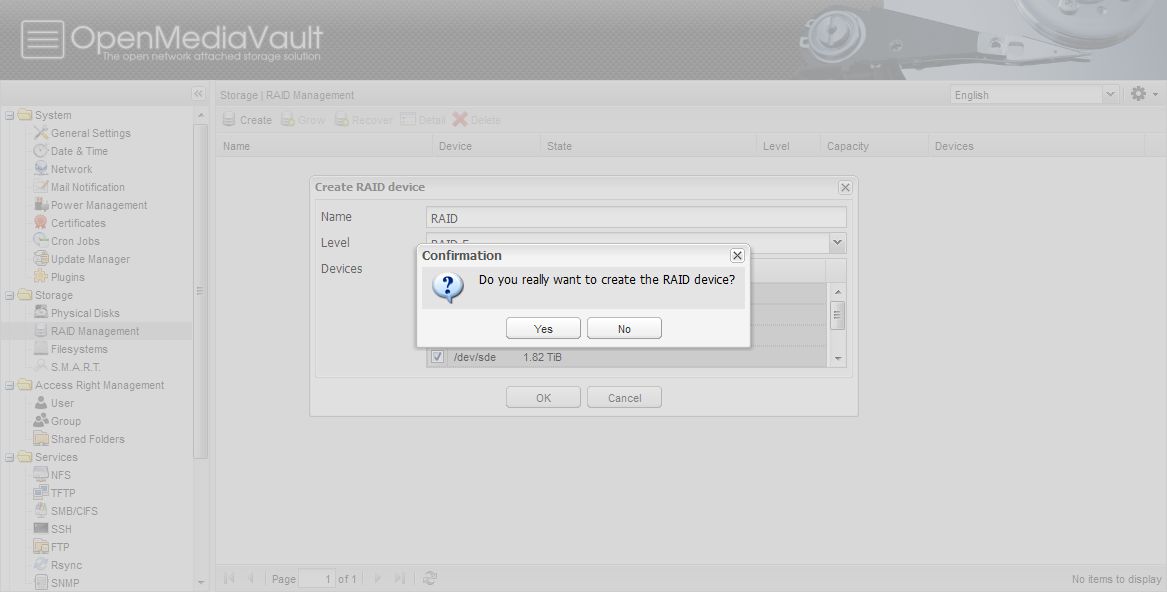
Click Create, this will bring up a dialogue box that will allow you name the RAID array, choose the RAID level you want, and select the hard drives you want to be included in the array. For our purposes, we like RAID 5 because of its ability to recover from a drive failure and its fast read/write speeds.
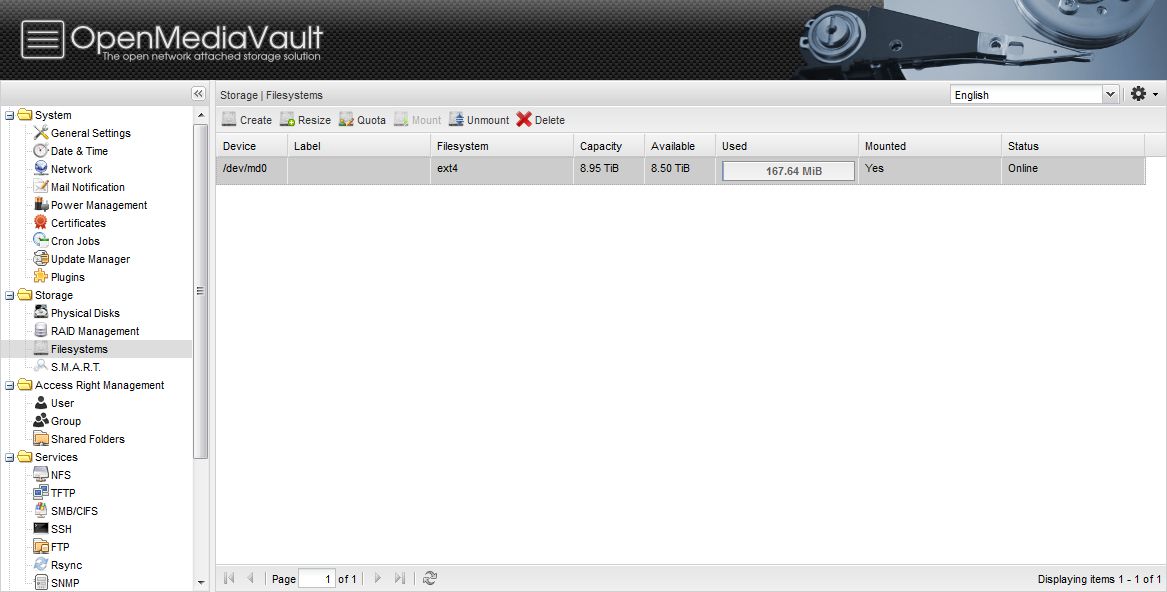
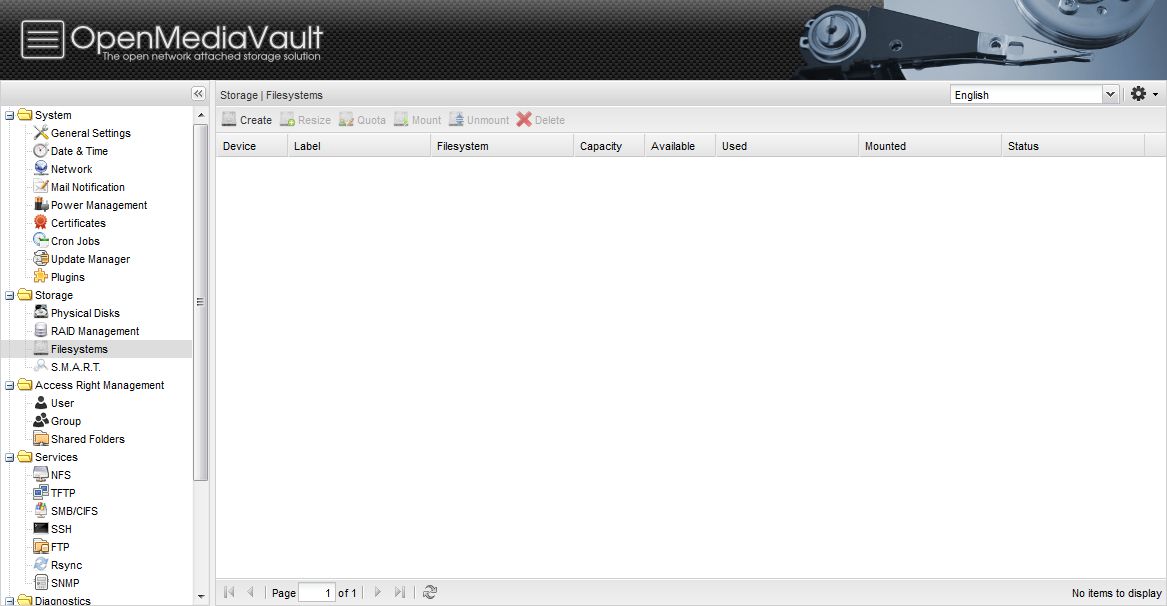
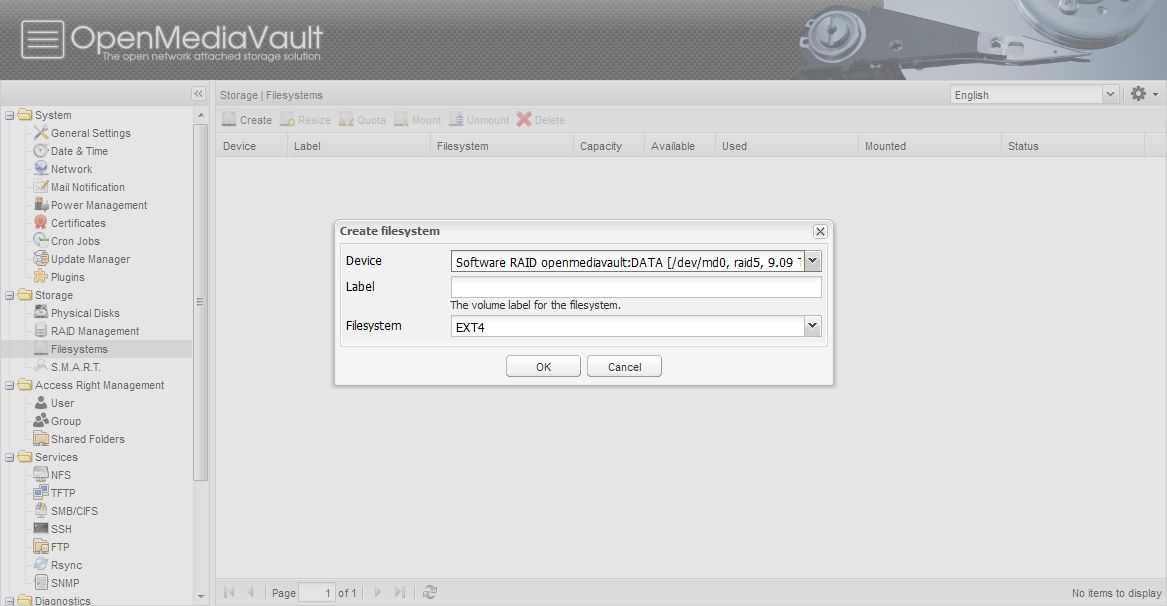
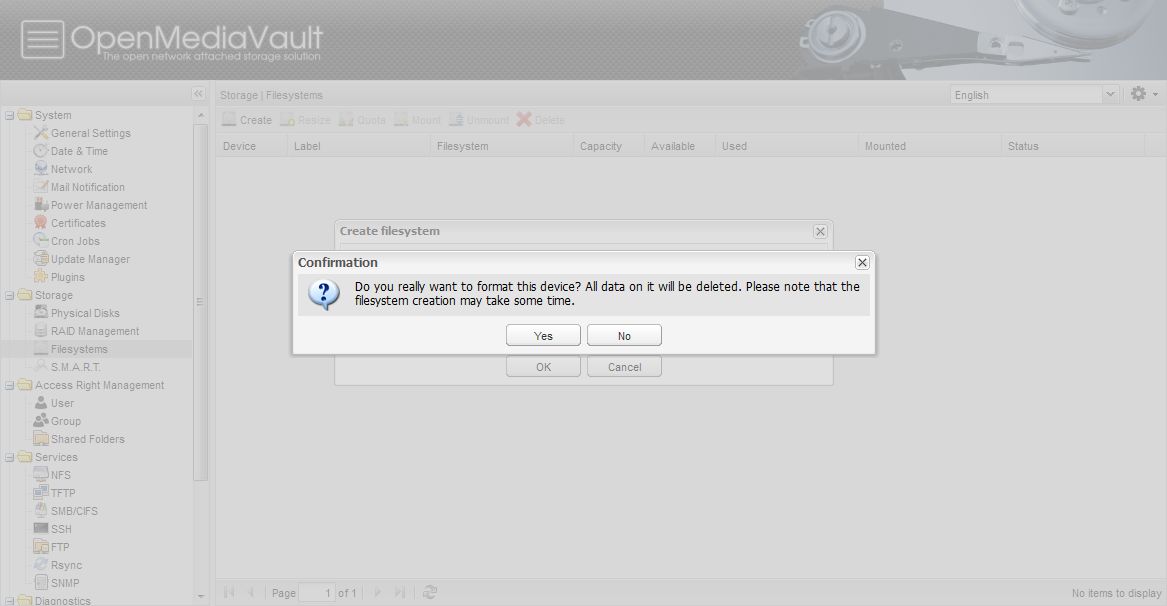
Create a Filesystem by selecting the Filesystems option under Storage. Click Create, choose a device from the dropdown (the RAID array you just created should be listed there), create a useful label, and choose your filesystem. In this case, we will use XFS as the partition is too large for the version of 2fsprogs packaged in Debian (on which OpenMediaVault is built). If you absolutely must use ext4 see this thread: http://forums.openmediavault.org/viewtopic.php?f=12&t=24&hilit=16tb

The status of the filesystem will remain as Initializing until the system is ready. At that point, there are only a few things left to do to have a usable NAS. We need to mount the filesystem by selecting the file system you just created and choosing the menu item “Mount”.