The more I dabble in cryptocurrency, the more I am mystified by its intricacies. For instance, just like your typical wallet, you don’t want to have all your funds in it, just in case it is compromised or stolen somehow. Instead, you move the majority of your funds/assets into a secure system, like a bank. Unfortunately, there is no banks for My Monero that are FDIC Insured. This means we are left to our own devices. The go-to solution? A Cold Wallet.
For those of you that don’t know, a cold wallet is one that is completely air-gapped, doesn’t touch the internet, doesn’t sport Bluetooth connectivity… basically something that has a bit of info about your wallet, typically just your mnemonic seed, then it is hidden away for safekeeping. Most resort to paper wallets, not me; not when I have access to a bunch of Raspberry Pi. I figured I would go about creating a cold wallet for Monero from one of the Pi I have lying around, and this is how I did it.
First of all, let’s get something out of the way quickly… the true definition of a “cold wallet.” As defined by Investopedia.com, “Cold storage is an offline wallet provided for storing bitcoins. With cold storage, the digital wallet is stored on a platform that is not connected to the internet, thereby, protecting the wallet from unauthorized access, cyber hacks, and other vulnerabilities that a system connected to the internet is susceptible to.” In my case, I will be using it for Monero, not Bitcoin, but to each their own.
Air-gapped? As defined by WhatIs.com “Air gapping is a security measure that involves isolating a computer or network and preventing it from establishing an external connection. For example, an air-gapped computer is one that is physically segregated and incapable of connecting wirelessly or physically with other computers or network devices.”
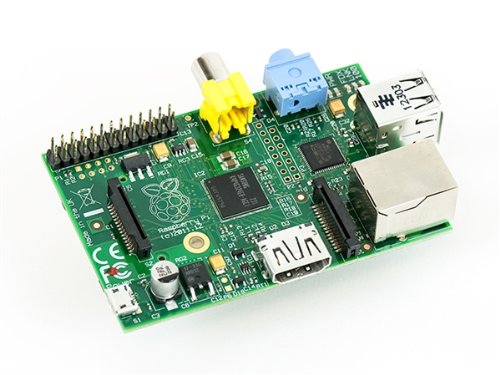
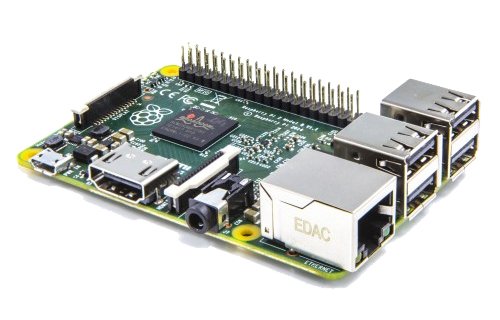
Now that we got some of the basics out of the way, we can start. In my case, I already have plenty of Pi lying around, old Pi, but Pi none the less. If you don’t have one and need/want one, you can grab one at your local Microcenter or by way of Amazon. The Pi 3 is snazzy and new, but it sports Bluetooth and WiFi onboard, so I would skip on that and go for a Pi 2 (or Pi Zero).
Shopping List:
- Raspberry Pi 2: http://amzn.to/2FvZYKb
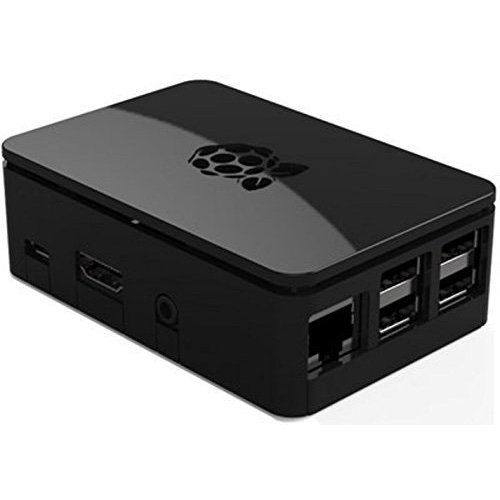
- Case: http://amzn.to/2Fs9tdp
- microSD Card: http://amzn.to/2mlWotv
- Power Supply: http://amzn.to/2D6DbX5
- 16GB Flash Drive: http://amzn.to/2DnLSKq
Let’s kick this off by going about things in the easiest way possible. There is a list of software that you are going to need as well as a thumb drive or two. After all, the only way to get anything onto your air-gapped Pi is to transfer it via flash drive.
List of Software, make sure you take note of the SHA-256 or MD5 Hash noted on the download, we will be using Quick Hash to validate our downloads. I’d list it, but by the time you read this, there may be new versions.
- Quick Hash
- Monero for ARMv7
- NOOBS for Raspberry Pi
- SD Formatter 4.0, not required, just makes things easier if you have content on your SD Card.
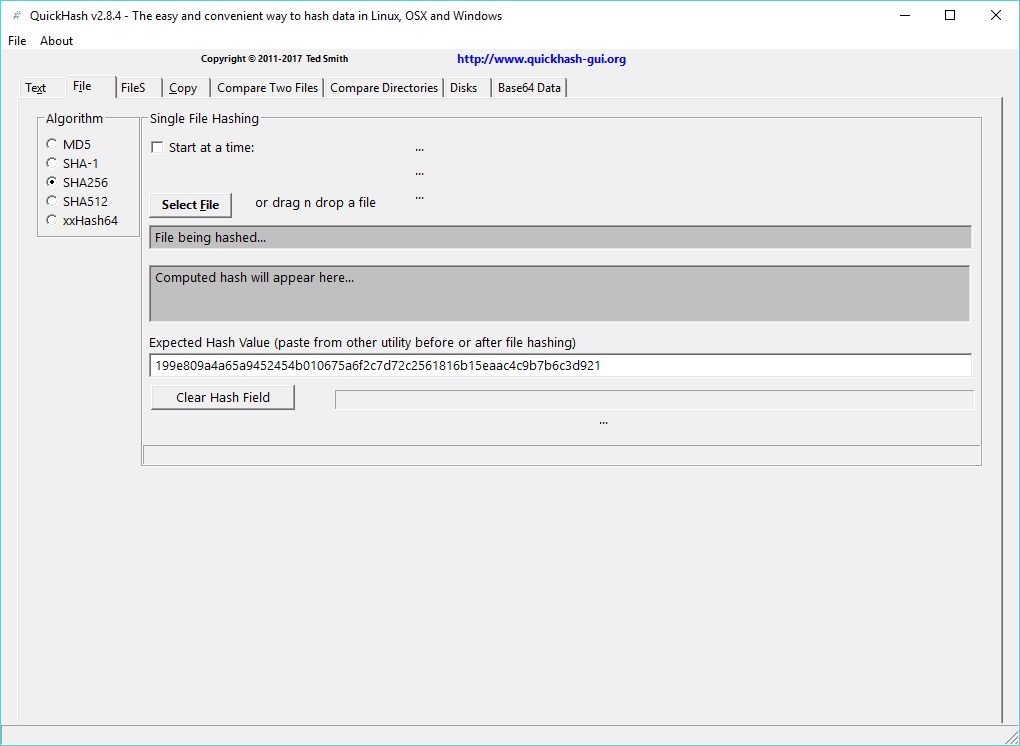
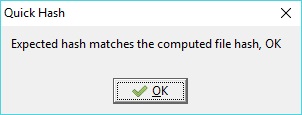
Once NOOBS is downloaded, kick the process off with validating its hash. Do this by opening Quick Hash, switching to the File Tab, selecting SHA256 and copying the SHA-256 for NOOBS on the download page to the field for “Expected Hash Value”, then selecting the NOOBS download with the “Select File” button. If all goes well, you will see the file being analyzed and then a notice “Expected hash matches the computed file hash, OK”.
Do the same for the Monero Download.
If they both match, you can move on
- Assemble your Pi!
- Extract the contents of the NOOBS.zip file to the SD card. Make sure the files are copied directly there… not in your NOOBS Folder
- Once the files are finished copying, remove the SD card and insert it into your Raspberry Pi.
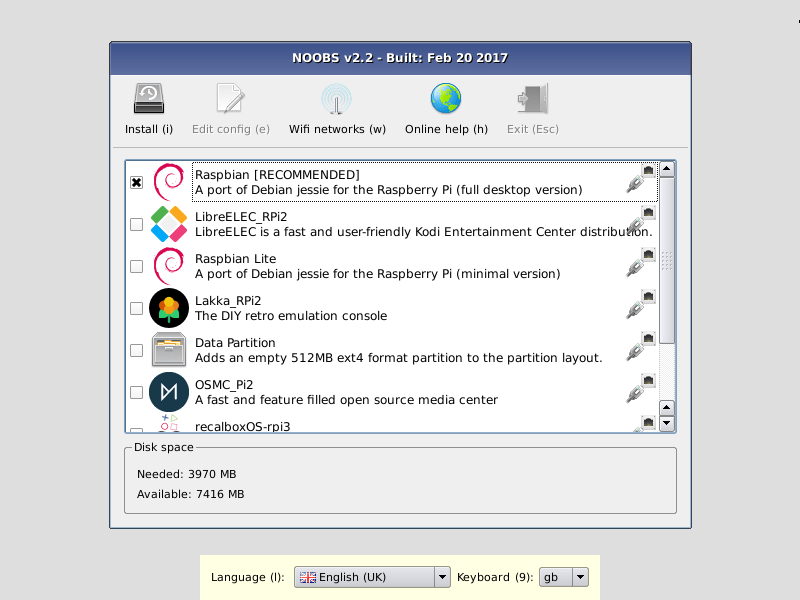
- When the Pi boots, you will be presented with a screen asking which Operating system you would like installed, Select Raspian.
- Click Install at the top left. This will take a while to complete.
Once Raspian is installed and ready to go, copy the Monero-linux-armv7-v0.11.1.0 (depending on when you read this, there may be a new version) to the desktop. You can right-click to extract. The extraction will take longer than you are used to, these devices are for learning, not quantum computing. After the extraction is complete, you should end up with a folder by the same name with 5 files in it.
You are going to have to select all 5 files and check the permissions so that you may execute them from a command line. Right click on them, select properties, click the permissions tab, verify “Execute” is set to “Anyone”.
Now, we are going to create your wallet. To do this, you are going to have to work from the Terminal. The terminal is like the command line in Windows, but don’t be worried, this is easy peasy. You can execute the terminal by clicking the icon that has “>_”
Execute the following commands, in Linux capital letters are important.
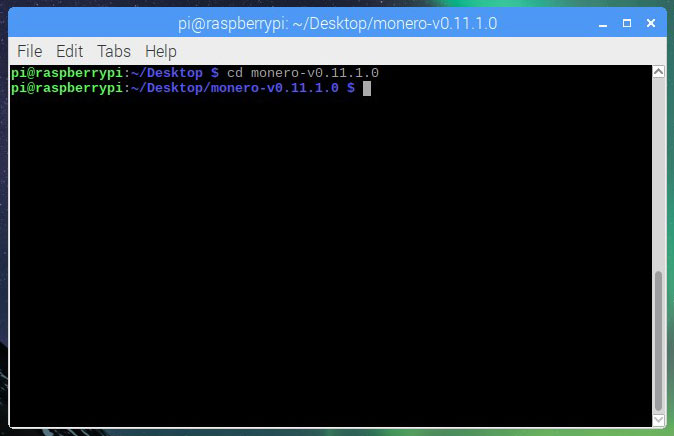
cd Desktop
cd monero-v0.11.1.0
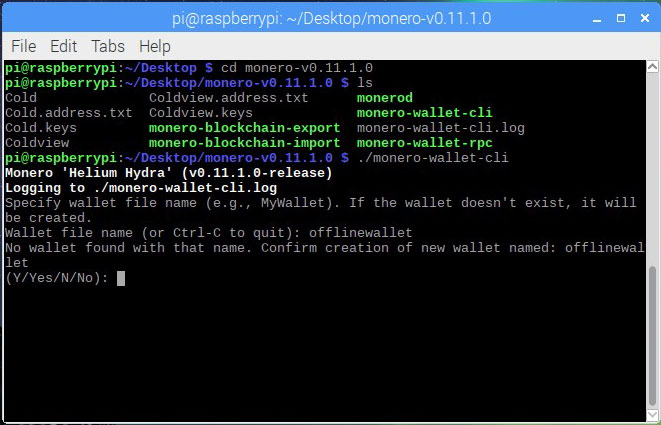
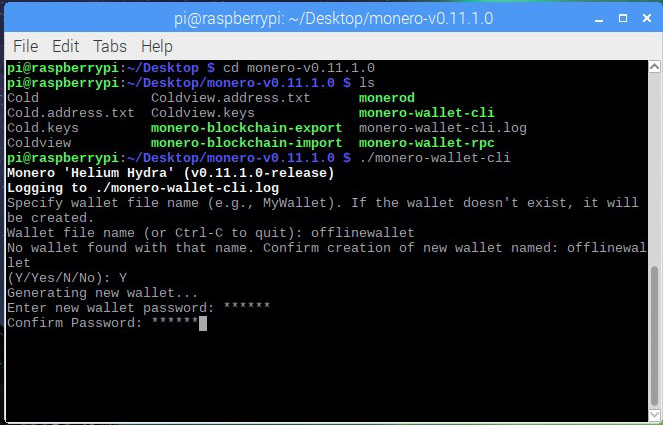
./monero-wallet-cli
- It will ask you for your wallet name, since we are creating one you can type the name of the new wallet we want to create.
- In this example, we will use “offlinewallet” as our wallet name.
- It will also prompt you that no wallet exists with that name and for you to confirm its creation. Hit “Y” and enter.
- It will ask you for a password. Choose a strong password, you don’t want your Monero disappearing.


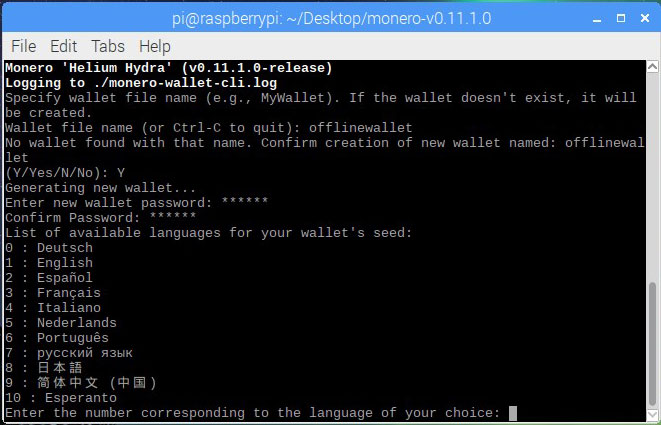
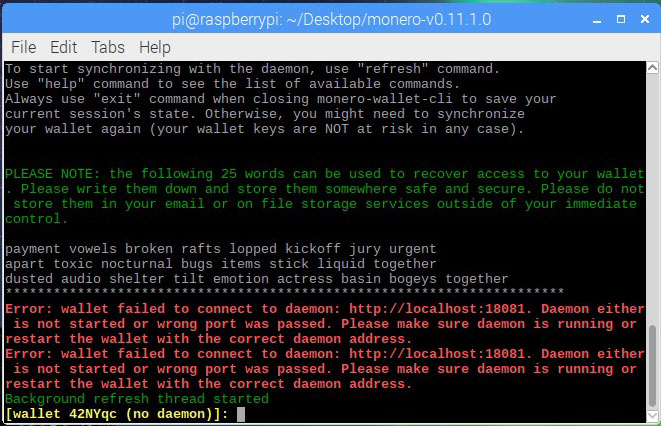
Once the wallet is created, the application will ask for the language you want your seed in. When you make your selection, you will be prompted with a number of warnings about the daemon failing to connect… this is normal as we do not have our Pi connected to the internet or any network. Write down your mnenoic seed for safe keeping. DO NOT SHARE THIS WITH ANYONE, they can recreate your wallet with it.
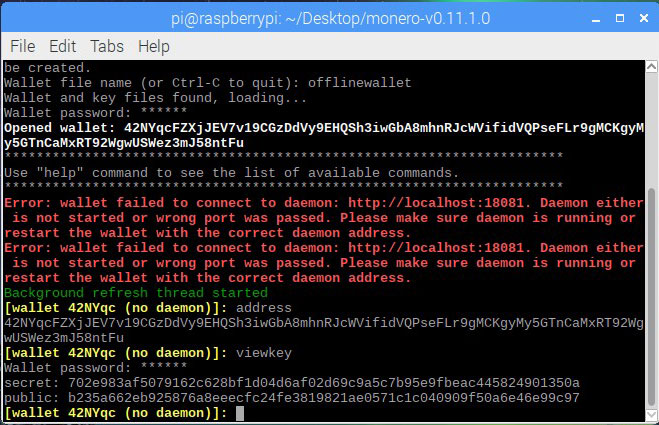
You will need to write down your wallet and viewkey.
address
viewkey
exit
If you would like to be able to view the balance of your “cold storage” from another location, you can create a view only key. To do so, enter the following command. The name offlinewallet is part of the example, use whatever you want.
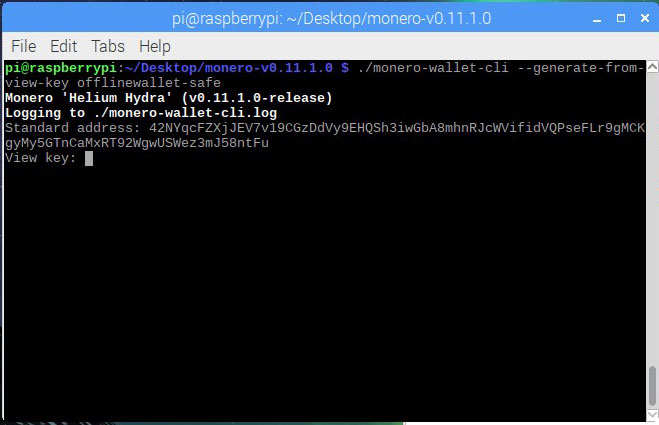
./monero-wallet-cli --generate-from-view-key offlinewallet-safe
- This will ask you for your wallet address, as noted above.
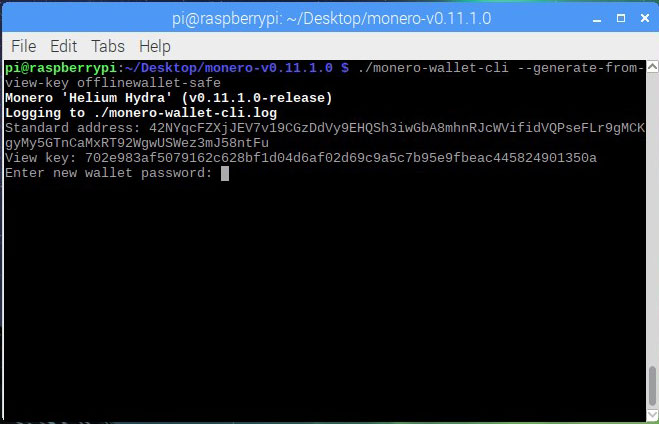
- Next, it will ask you for your view key
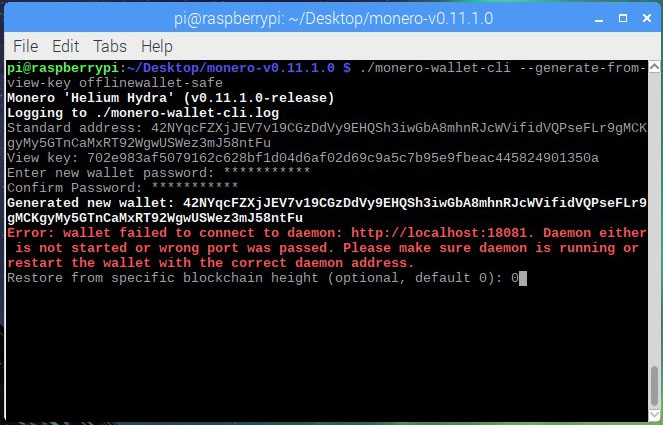
- Enter a new password for your view only wallet
- Select a point where you would like the blockchain to sync from, default is 0
Type "exit"
That’s all there is to it, if you want to transfer funds to your cold storage wallet, simply do so from your other wallet. If you want to view you wallet’s balance, open wallet from key using the view only key you created above.
Just a note: Always keep a backup of a backup… just in case your SD card goes bad, have it on paper too.


FYI, I’m trying this on a Pi Zero without wifi and it does not work. The Pi Zero has an ARMv6 processor and will not run the monero-wallet-cli without ‘illegal instruction’ error. It appears I’m going to have to compile on the Pi which will require a lot of dependencies that will be tricky to resolve without any networking!