
Installing the Software
There are plenty of options out there for your NAS OS; ranging from OpenFiler, Zentyal, Ubuntu, Fedora, NAS4FREE, OpenMediaVault, FreeNAS, and the list goes on and on. However, for this particular build I am looking for something easy to use. I have tried all on this list and so far, OpenMediaVault is my OS of choice. The software makes administering your NAS simple, and with the group / user permissions on folders I am not as limited as I am on NAS4FREE.
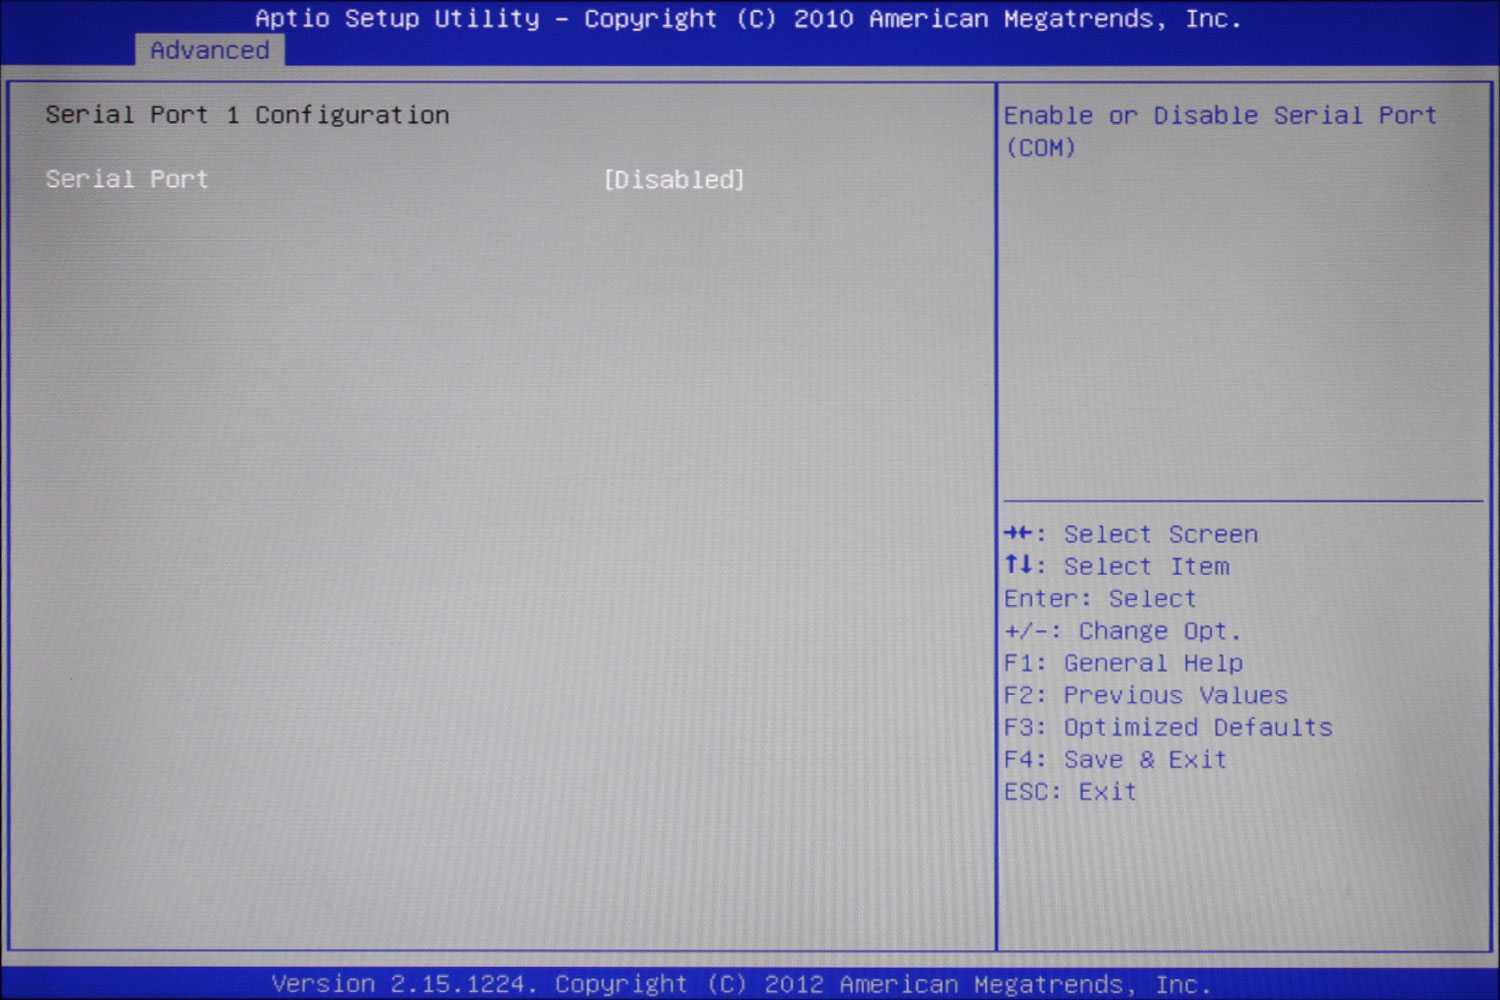
The installation of OpenMediaVault could not be easier, just burn the ISO and boot to the CD. There are typically some complications you may run into right off the bat, so I will get those out of the way before you start your installation. First, your install will hang if you do not disable the serial port in your BIOS. This has been the case for me with every system I have built running OpenMediaVault.
If you purchased the motherboard I mentioned above:
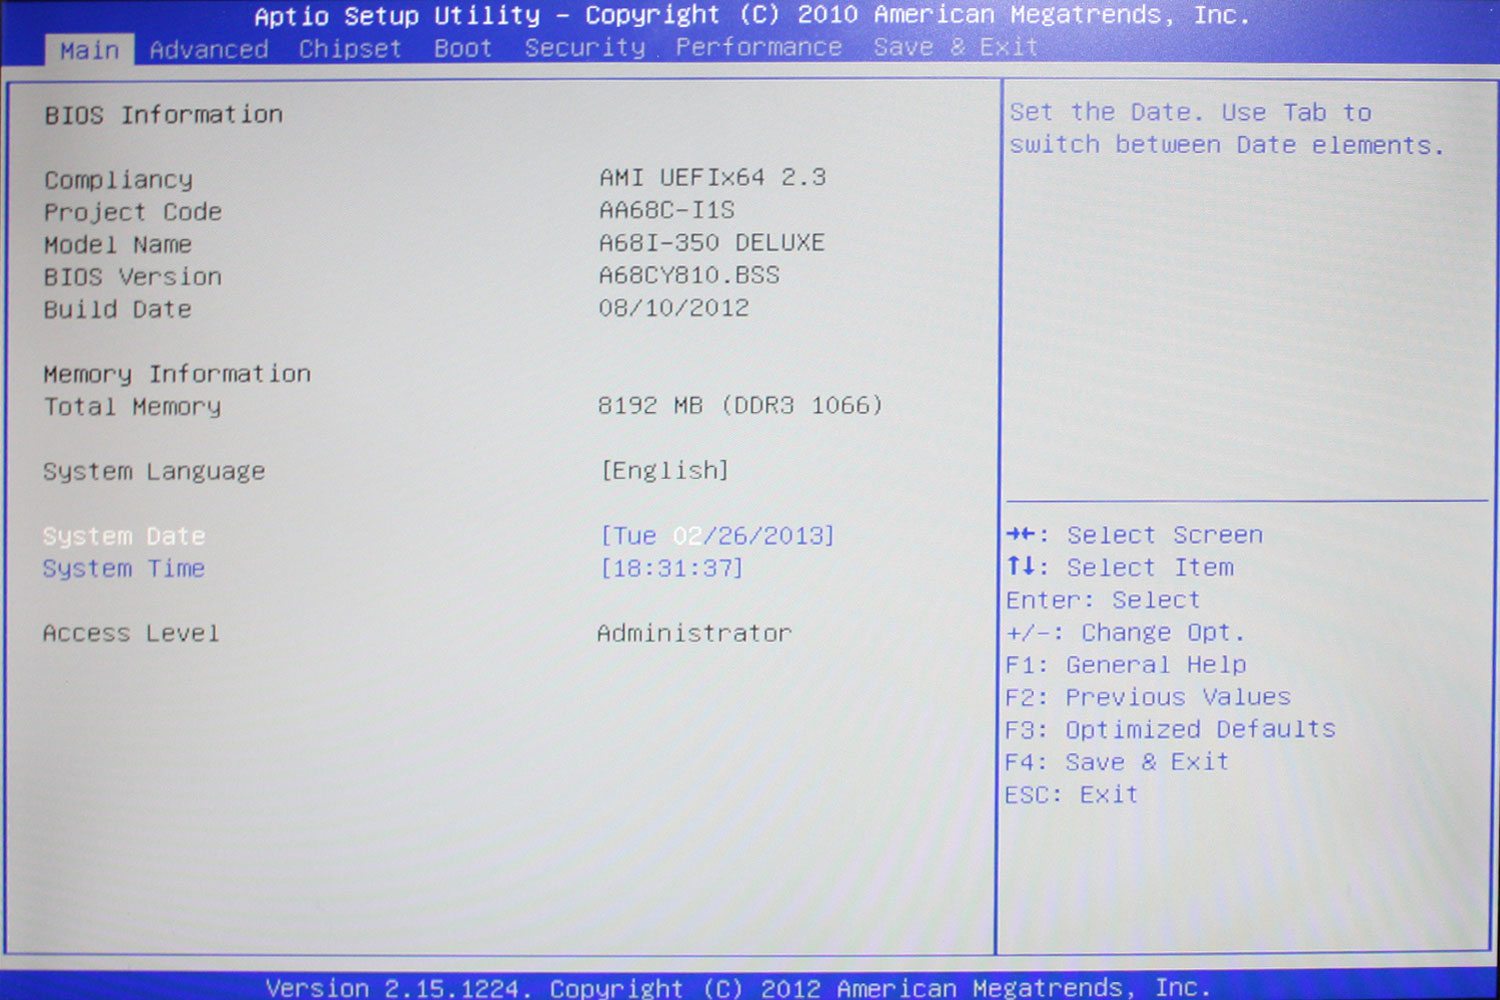
- Upon boot press the DEL key to enter the BIOS.
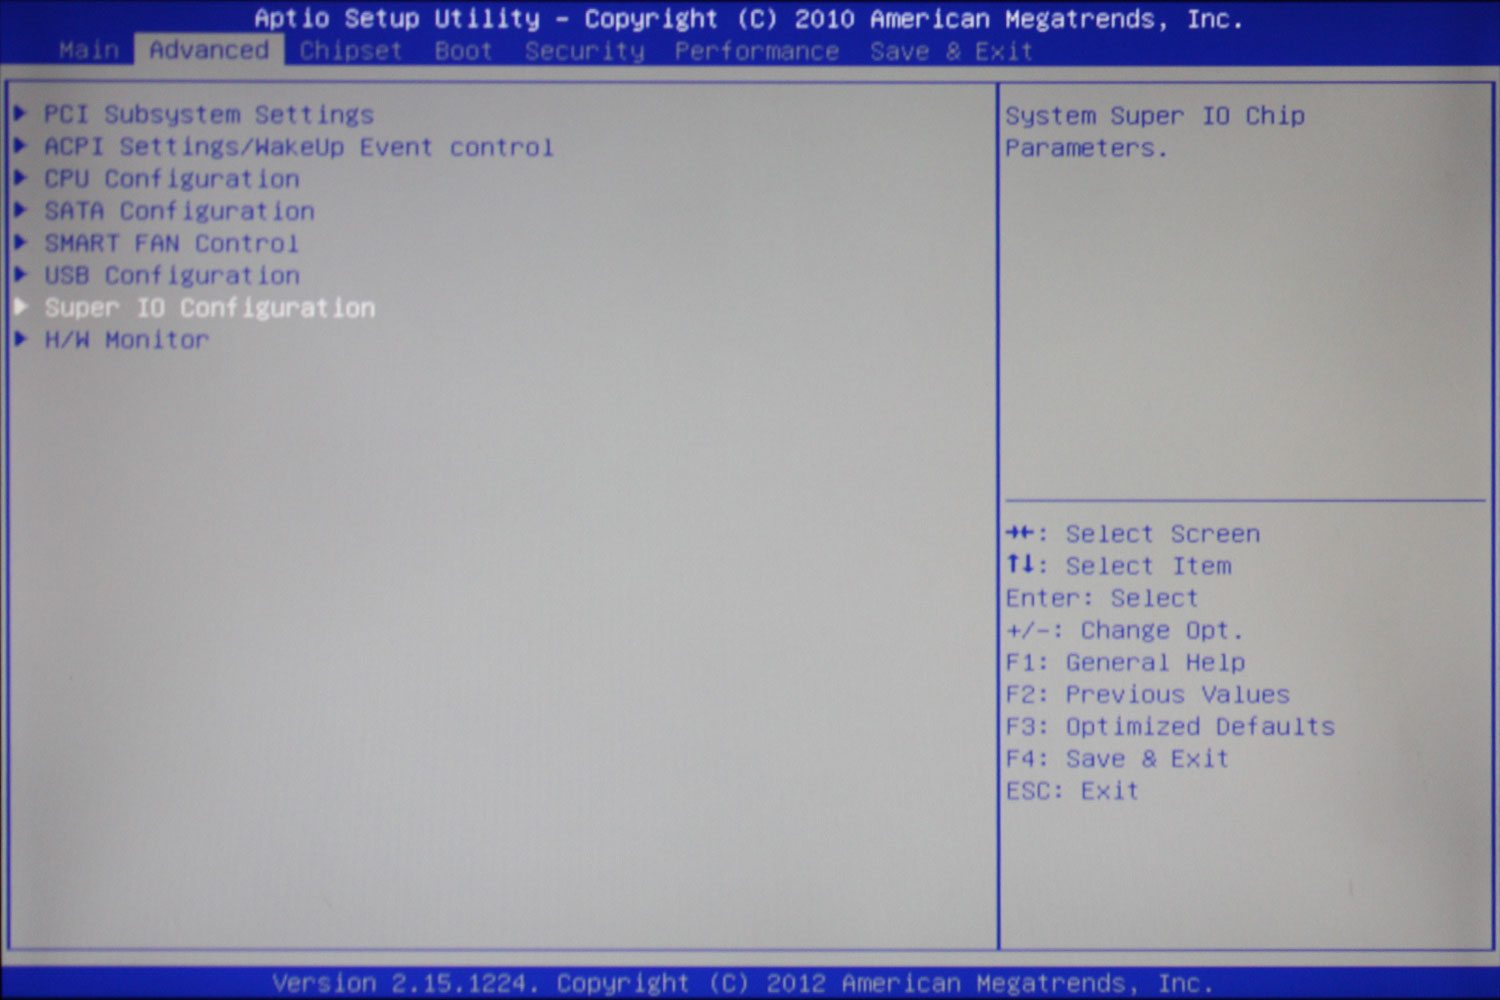
- Advanced
- Super IO Configuration
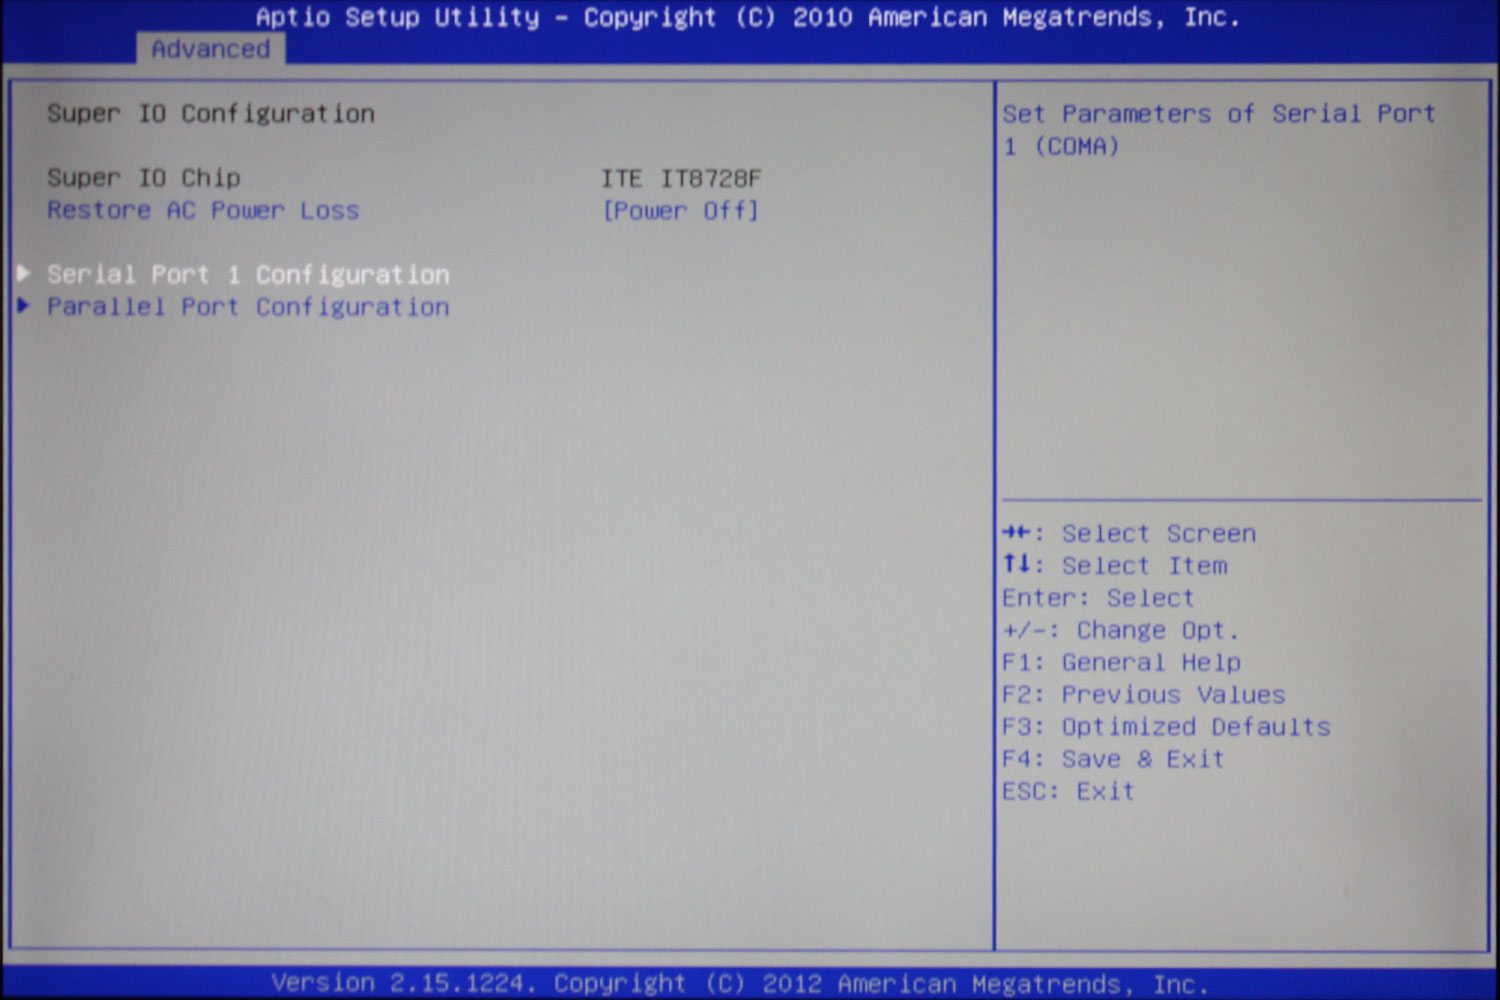
- Serial Port 1 Configuration
- Disabled
- Serial Port 1 Configuration
- Super IO Configuration
- Press F4 To Save & Exit
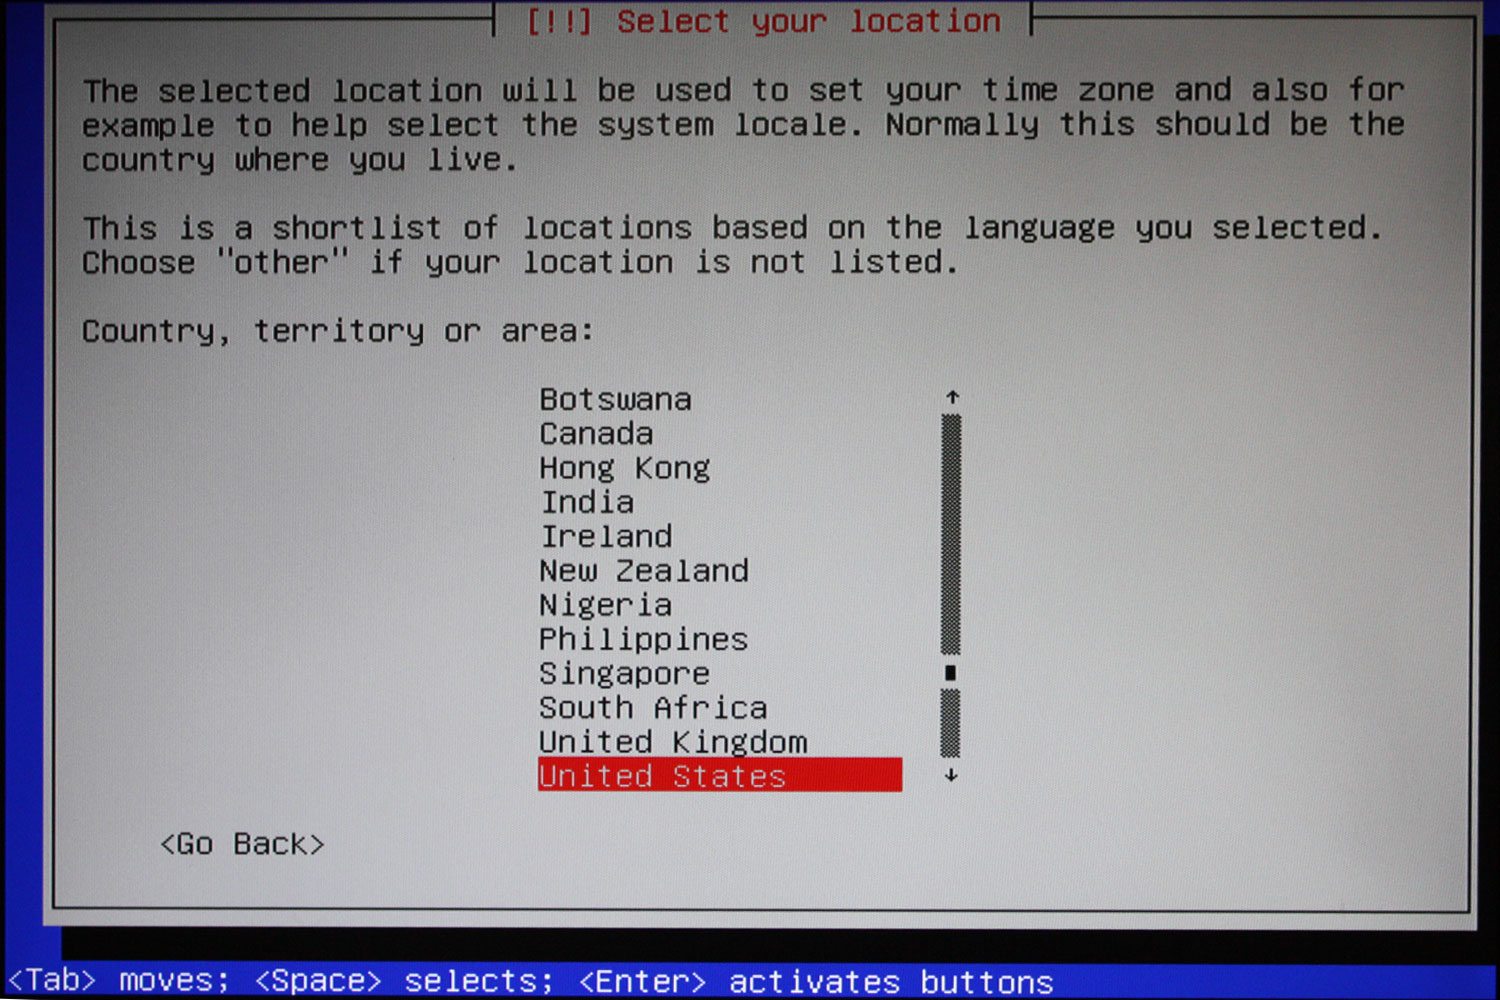
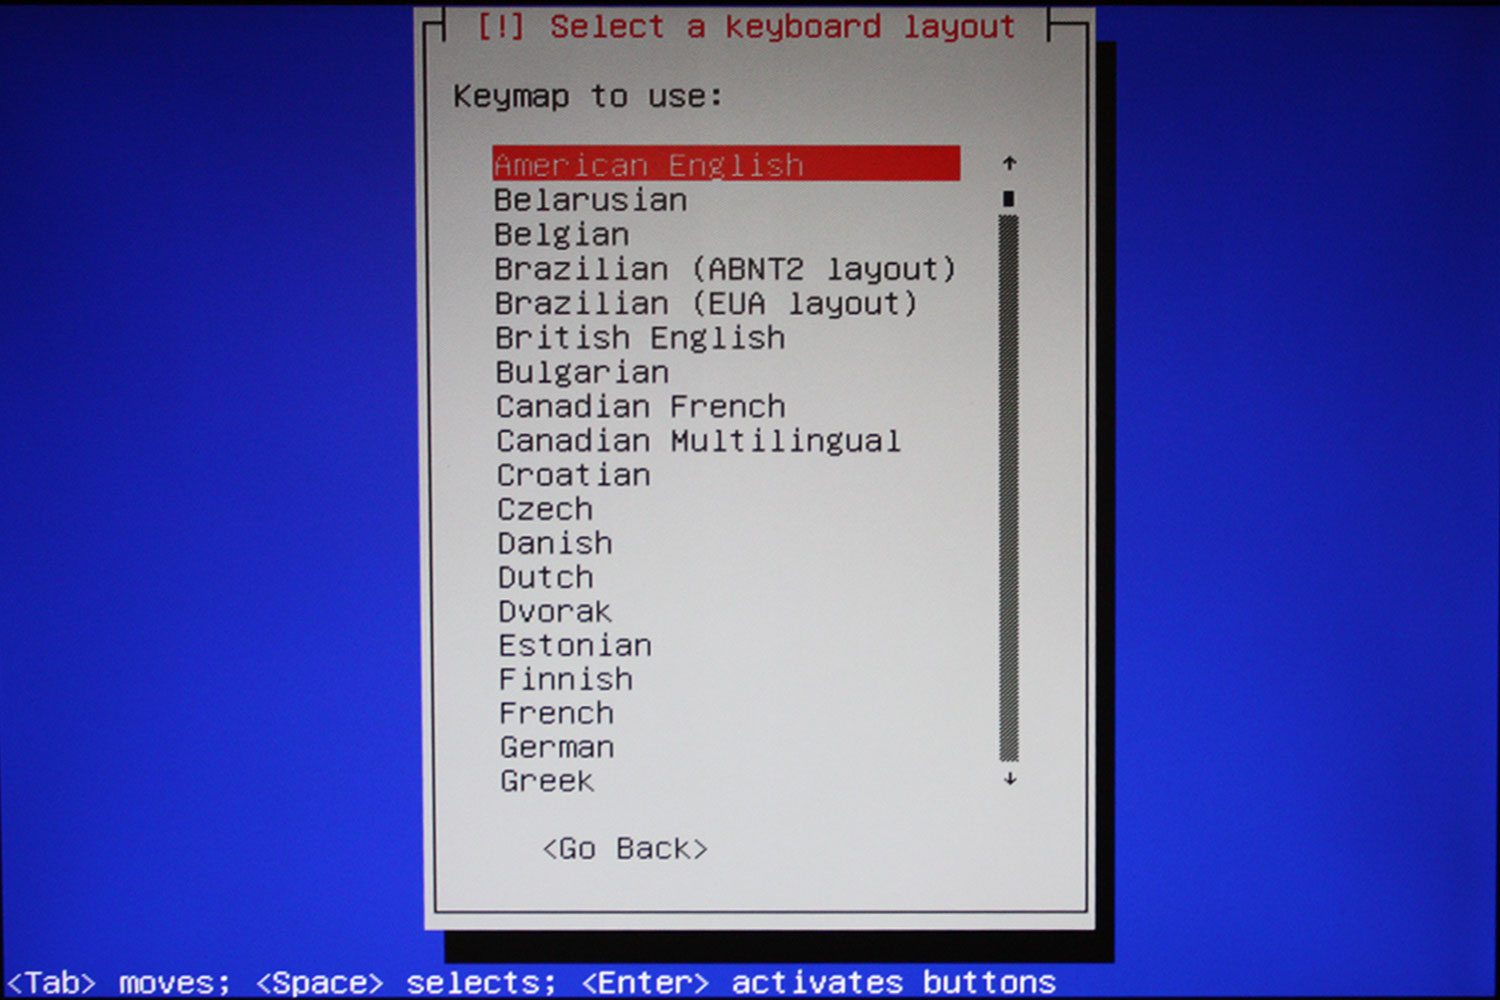
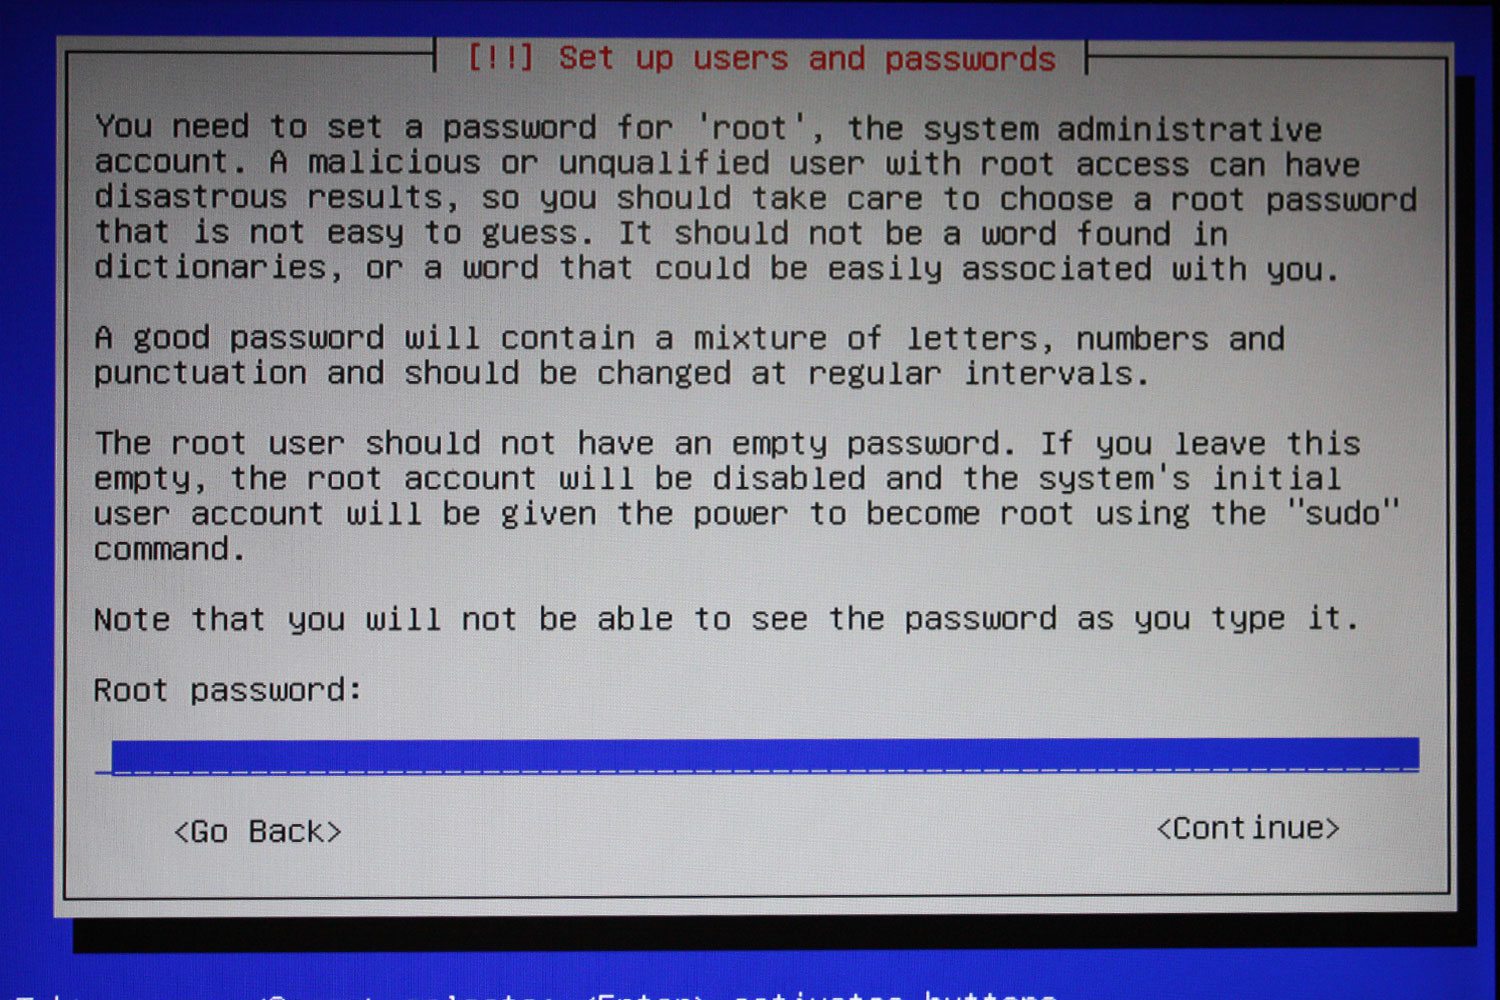
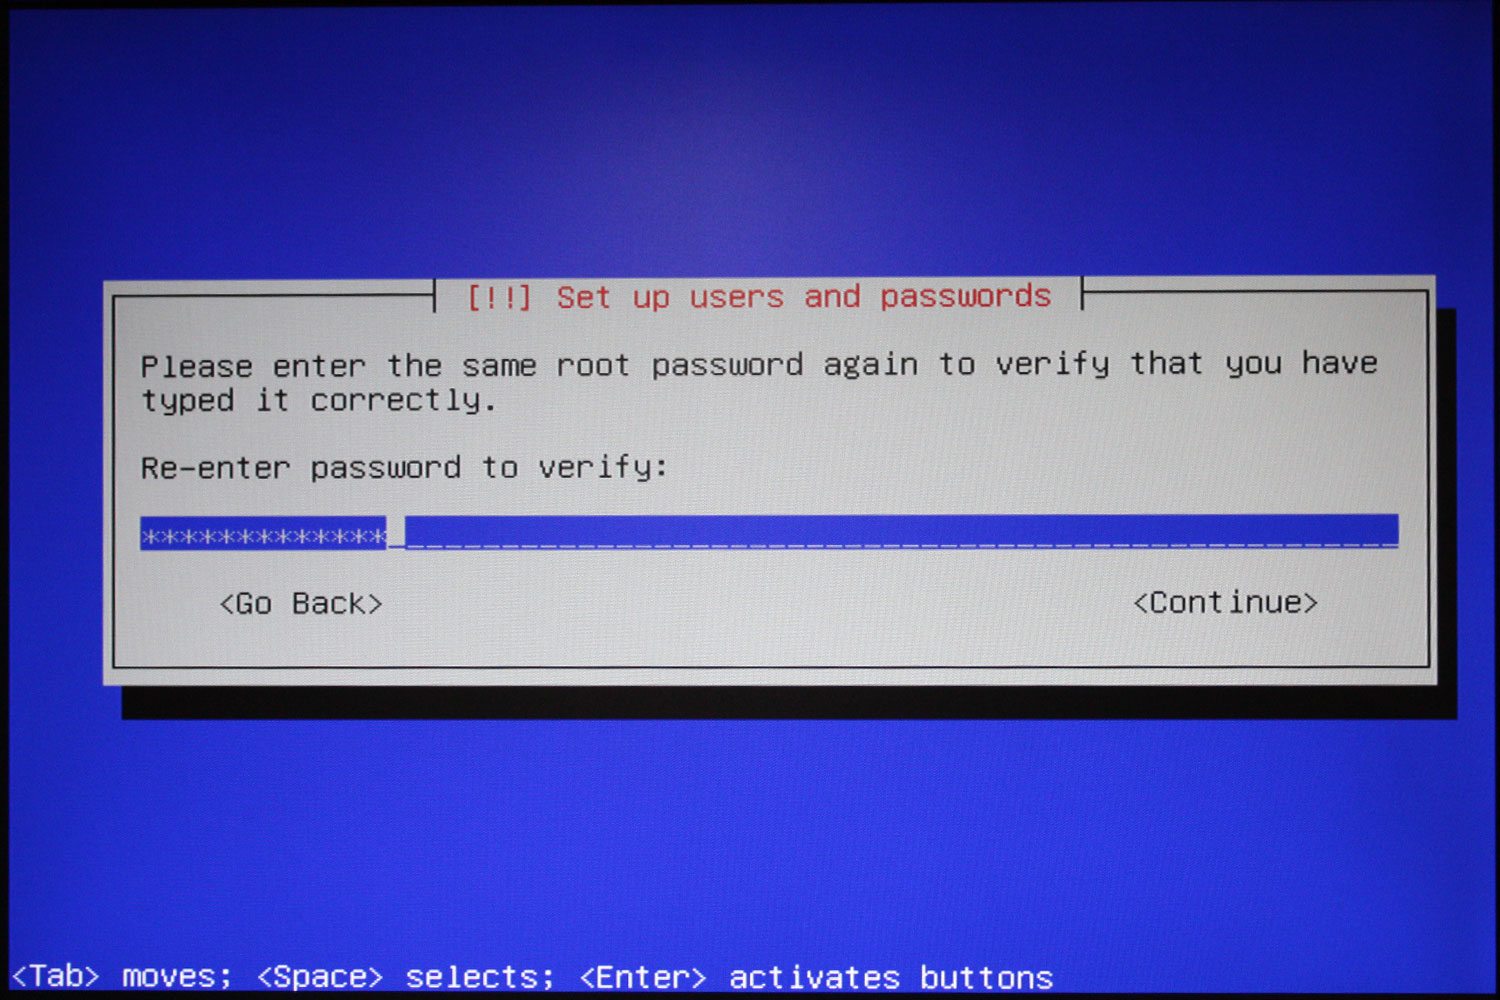
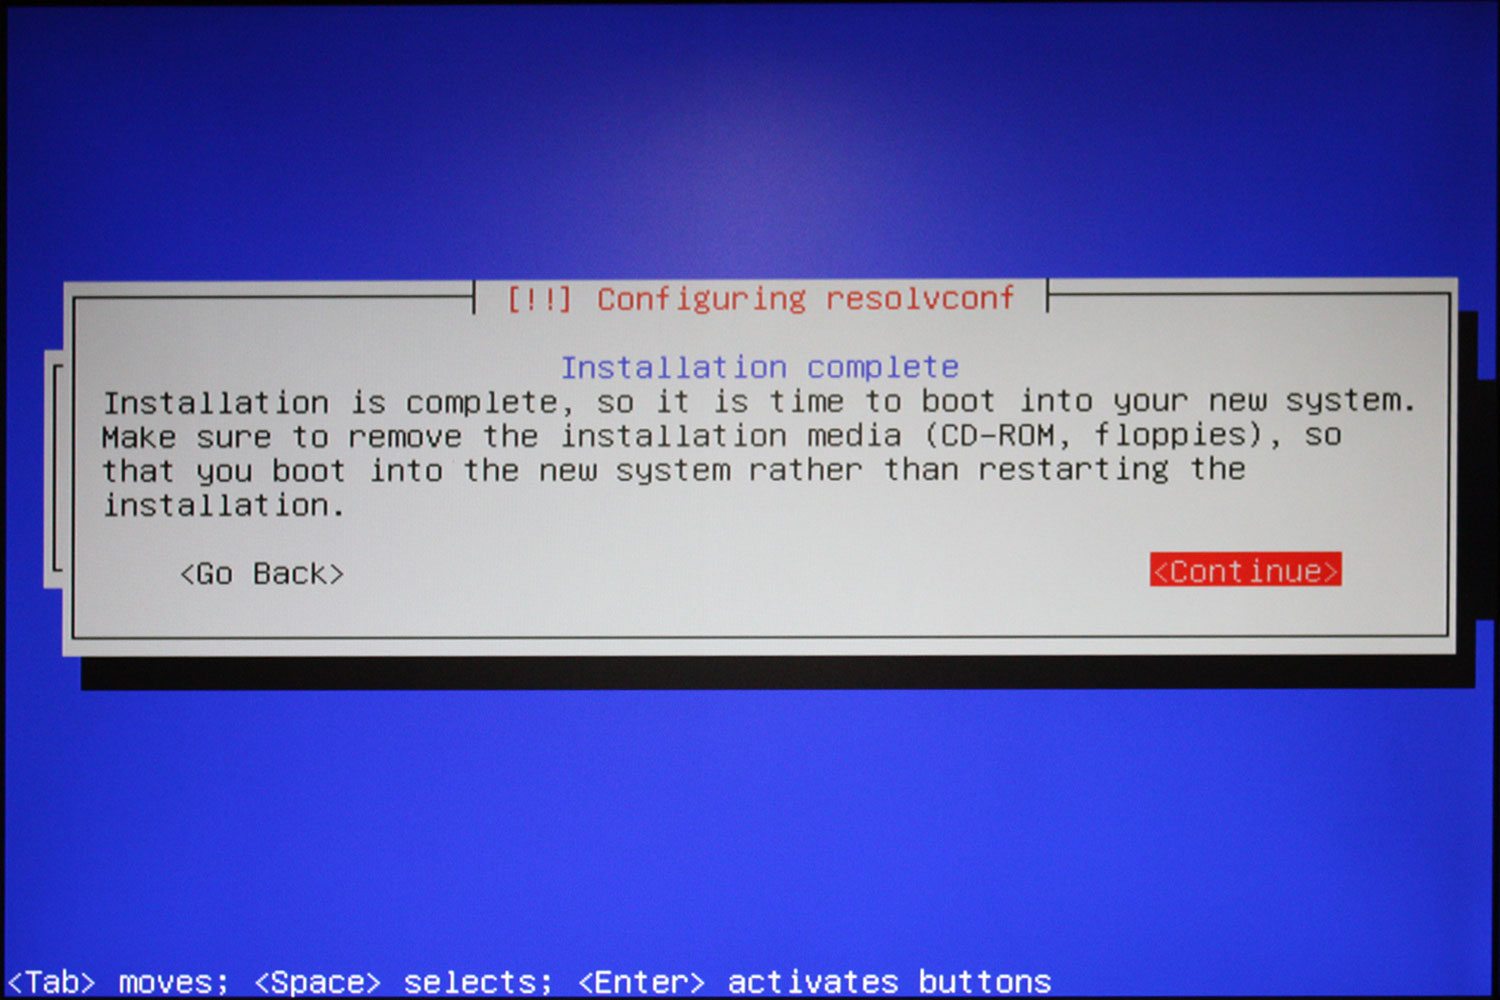
The rest of the installation is easy as pie. Just use all the defaults and you are good to go. I didn’t capture the entire install process, but here are some screenshots to guide you along.
Once the software is installed, you are ready to get your HighPoint RocketRAID 2720SGL going. Unfortunately, this card isn’t supported out of the box by OMV, but updating to a kernel with driver support built in is easy enough. To do this, we need to turn on SSH so that we may update the kernel.
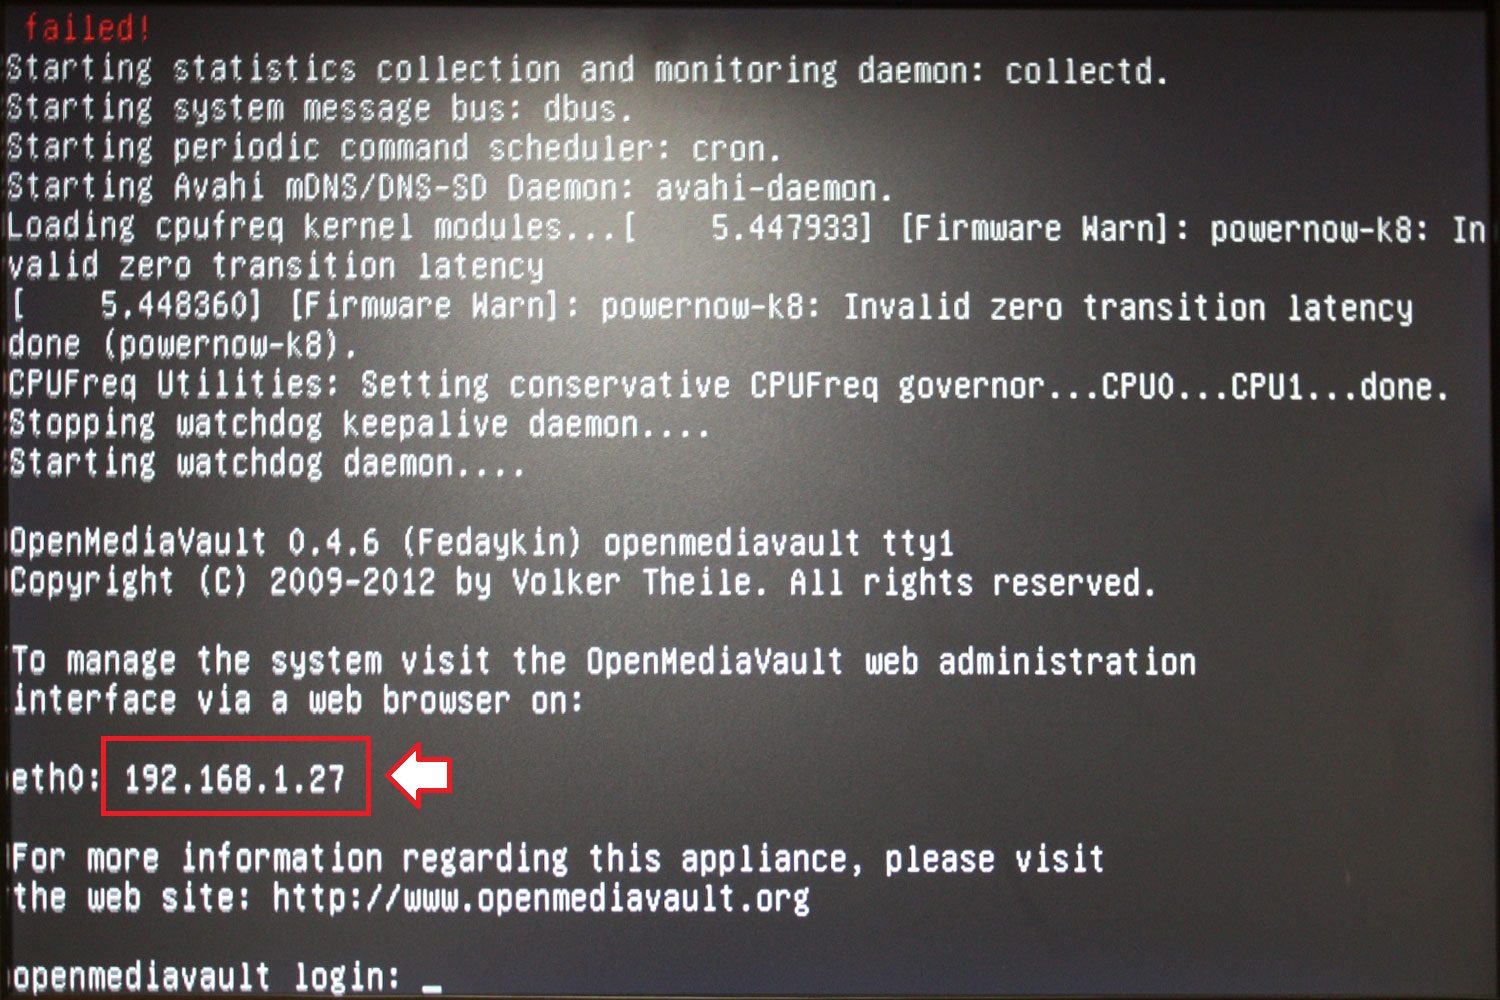
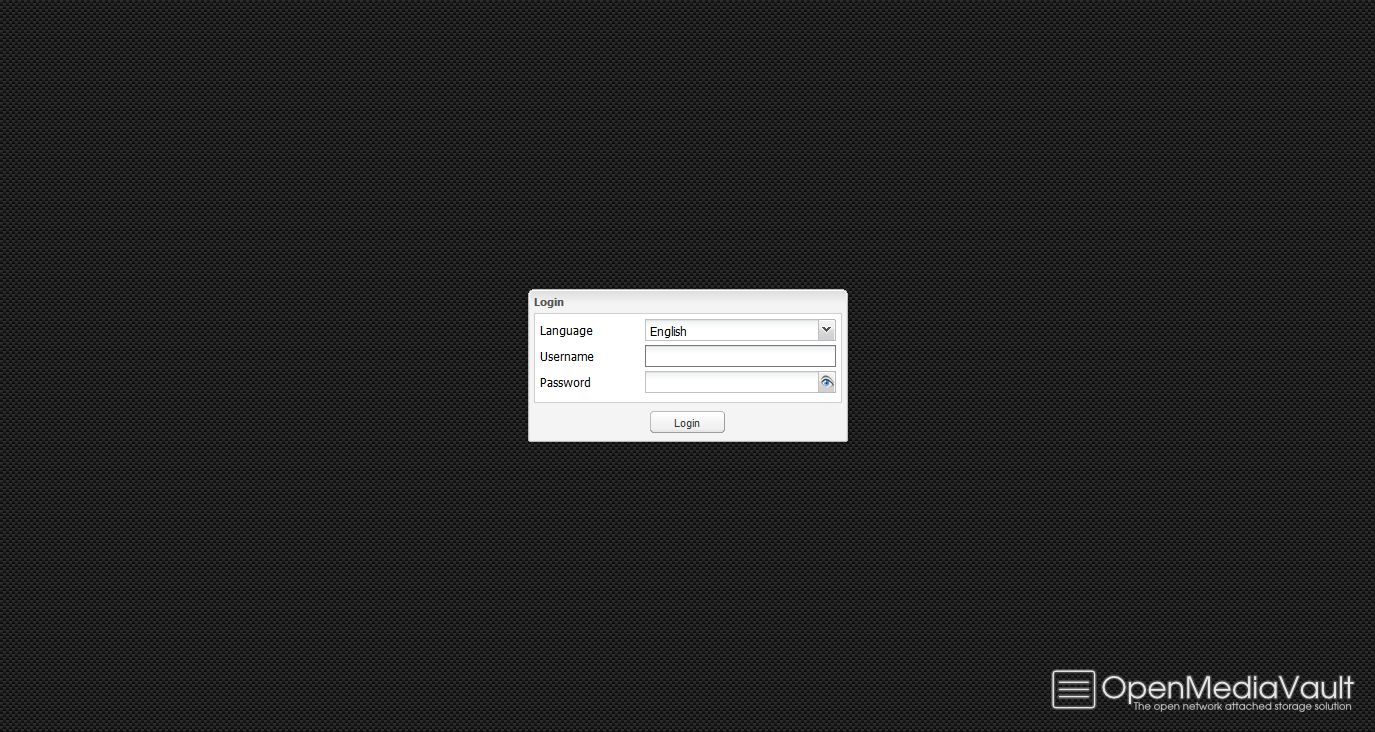
The first thing you have to do is log into your OMV server and enable SSH (with root login). Open up a web browser and point it to the IP address your OMV grabbed (you can see in the screenshot above). In my case, it was 192.168.1.27 (the first available IP address). The default username is admin and the default password is OpenMediaVault.
- Click on SSH in the left menu panel
- Check the box for Enable
- Ensure the box for Permit root login is checked
- Click OK


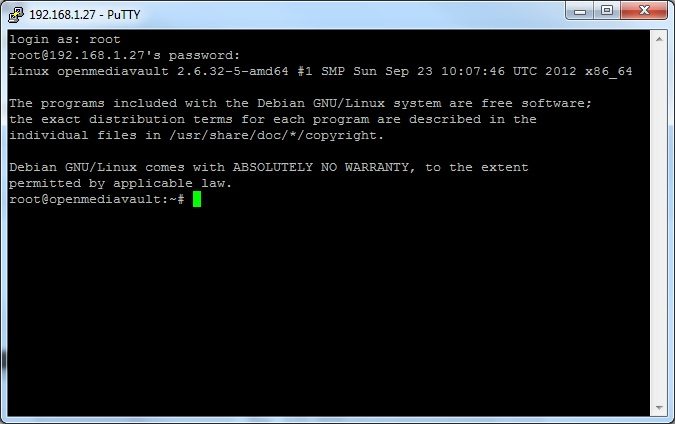
Next, grab your favorite SSH utility and SSH into your OMV Server.
Log in as root and use the password you set during the installation
You need to add the source for the new kernel
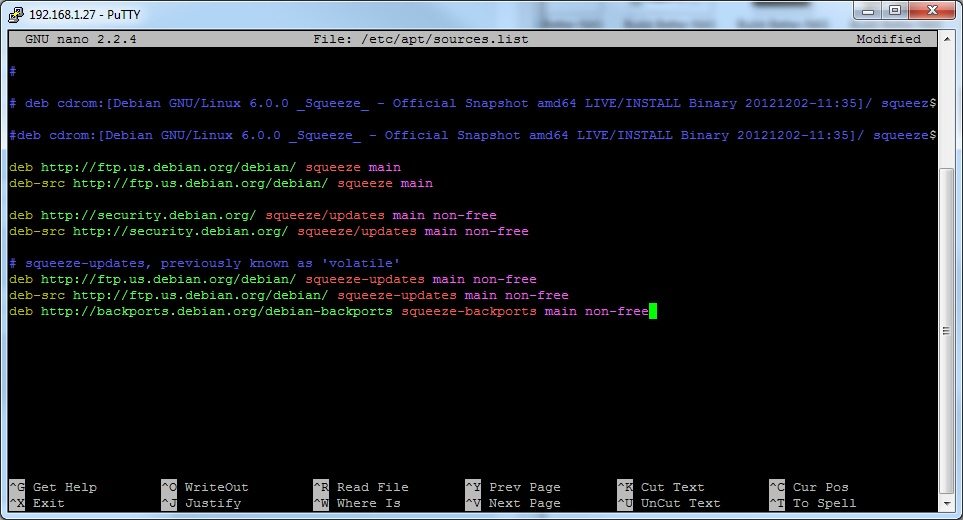
nano /etc/apt/sources.list
add the following to the end of the file (move your mouse to the end of the file, copy the line below then right click in the putty window to paste it). This will add the additional OpenMediaVault repository, the backport repository, and some 3rd party packages for installation.
deb http://backports.debian.org/debian-backports squeeze-backports main non-free

deb http://downloads.sourceforge.net/project/openmediavault/packages fedaykin main
## Uncomment the following line to add software from the proposed repository.

deb http://packages.openmediavault.org/public fedaykin-proposed main

deb http://downloads.sourceforge.net/project/openmediavault/packages fedaykin-proposed main
## This software is not part of OpenMediaVault, but is offered by third-party

## developers as a service to OpenMediaVault users.

deb http://packages.openmediavault.org/public fedaykin partner

deb http://downloads.sourceforge.net/project/openmediavault/packages fedaykin partner
Press CTRL-X to exit, confirm when prompted by hitting Y and save by hitting Enter
Update with APT
apt-get update
See what kernel is available
apt-cache search linux-image-3
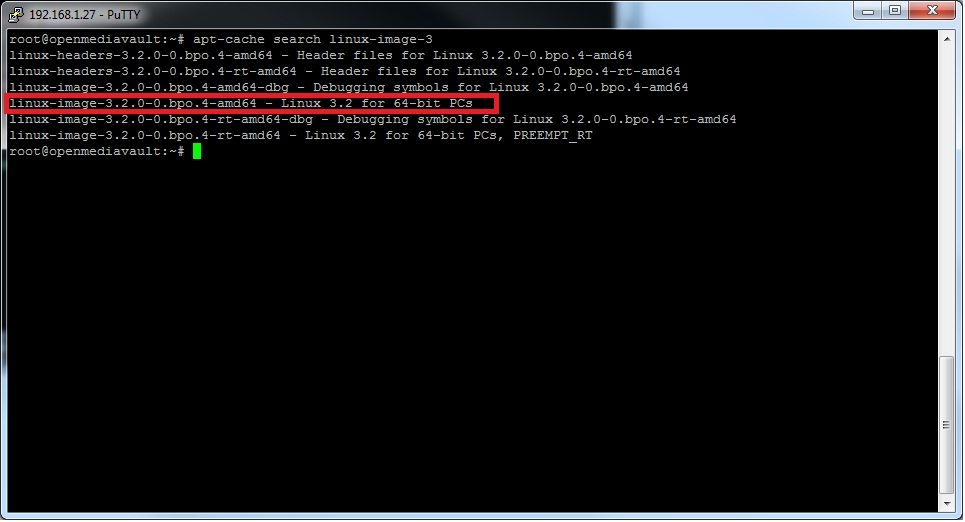
Install the kernel (taken from the information above – change the line below should yours reflect something different)
apt-get -t squeeze-backports install linux-image-3.2.0-0.bpo.4-amd64 firmware-linux-free firmware-linux-nonfree
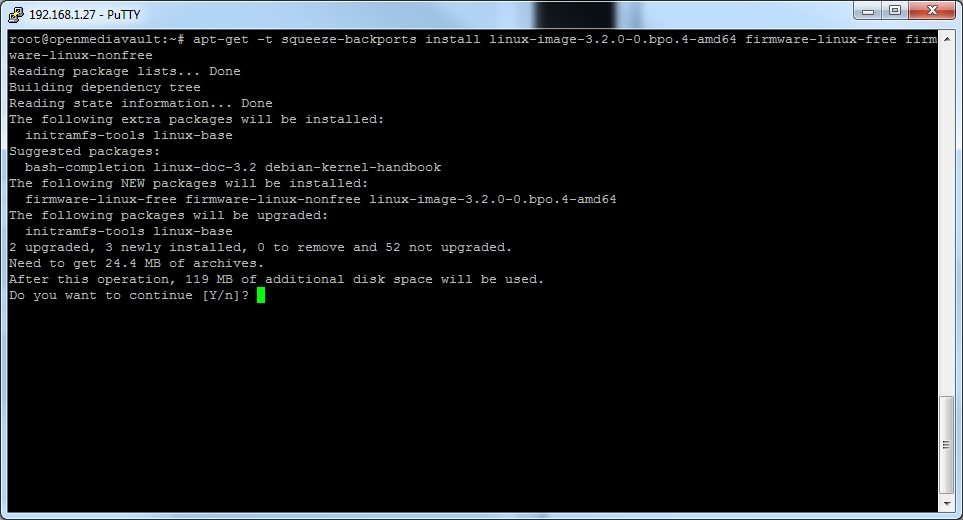
Press Y when prompted to continue
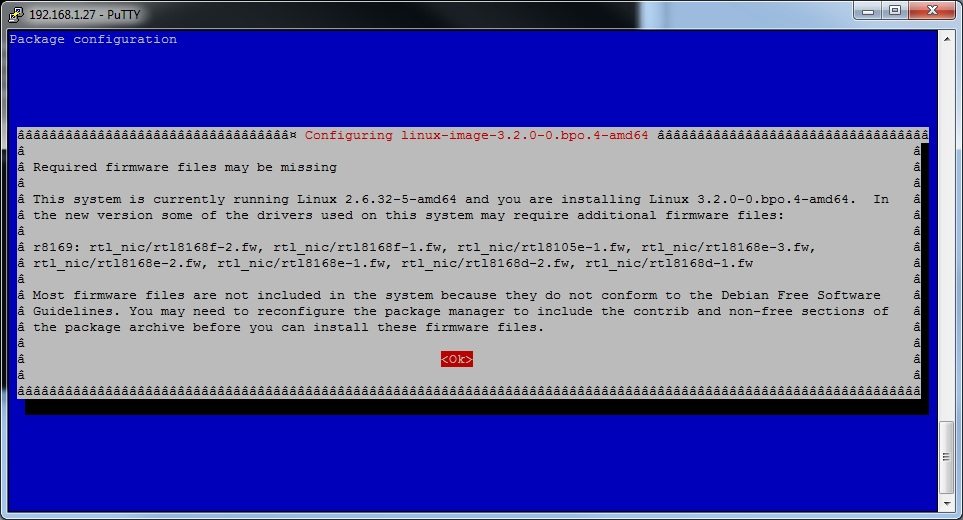
If you are prompted that Required firmware files may be missing, press OK – be patient, this may take a bit to finish
Reboot to finish the update by typing
reboot


Save some cash, use nas4free and find a motherboard with enough onboard slots and use ZFS. You wont have to buy an SSD (just a usb stick as it runs in RAM), nor will you have to buy a controller card that. If the controller card dies, it will be hard to replace or get your data back. Whereas with ZFS, you can just plug into any other motherboard and re-import.
I just happen to have 8x2Tb drives sitting around, poor mans build my a$$
The build is cheap… the drives aren’t. All the NAS reviews I do… I have much more than 8x2tb lying around. They can be had for 79 a piece now…
would like to know about the 40TB build as i’ve recently filled my 9.5TB QNAP 659Pro+ and want to go homebrew
The build was actually completed before this article/build as I my needs were immediate. However, baby steps… it will be published soon.
oh nice, look forward to reading it!