
Creating RAID
Now that OMV is able to see your HighPoint RocketRAID 2720GSL, you can scan for disks to create your RAID array. Time to log back into the administration interface using the IP address assigned to your new OpenMediaVault NAS.
Navigate through the menu panels to Storage – Physical Disks.
You may see that your hard drives are present; if they are not already present, click the “Scan” button at the top of the page.
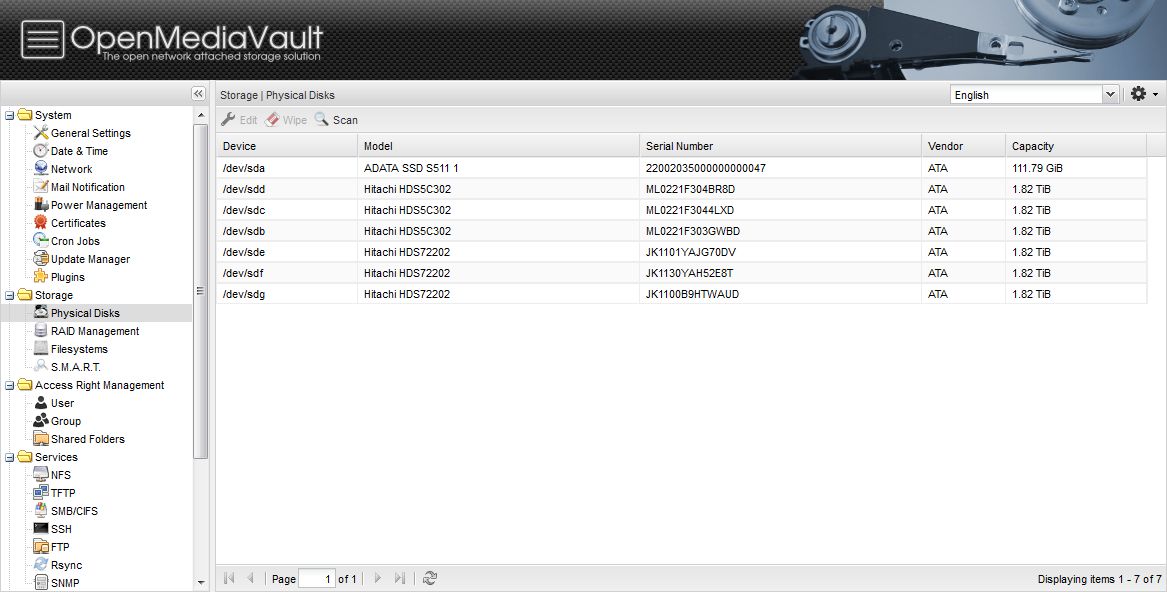
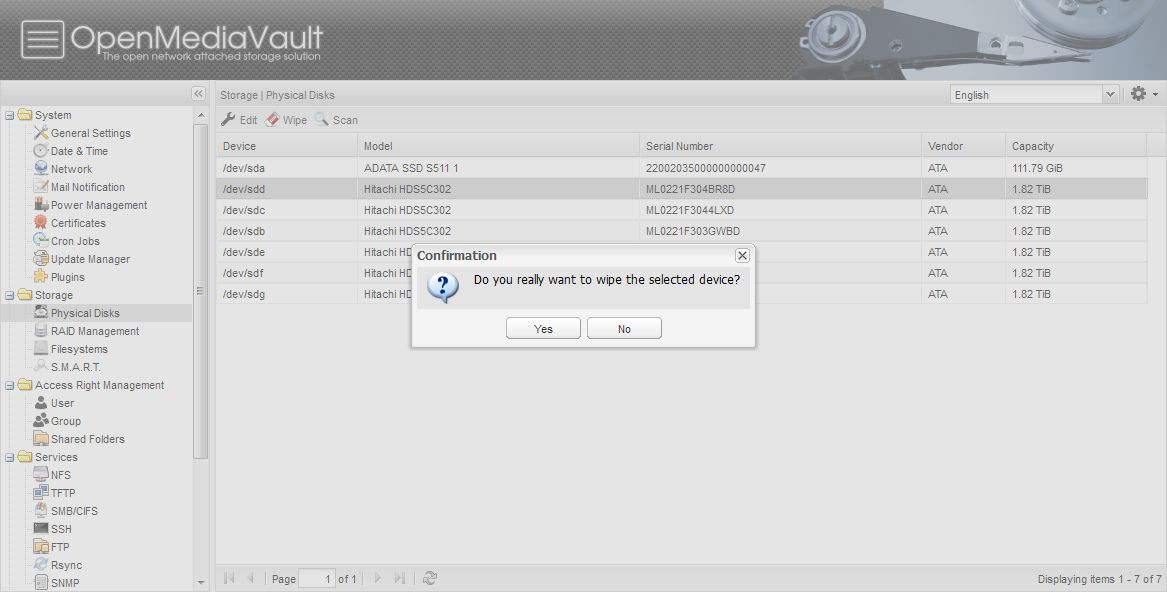
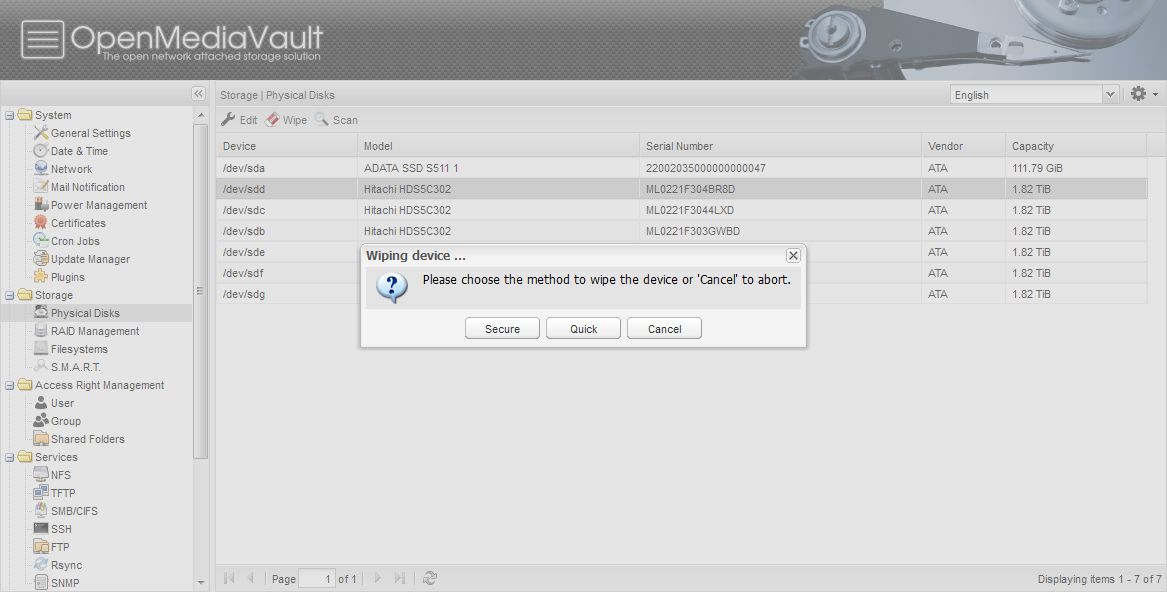
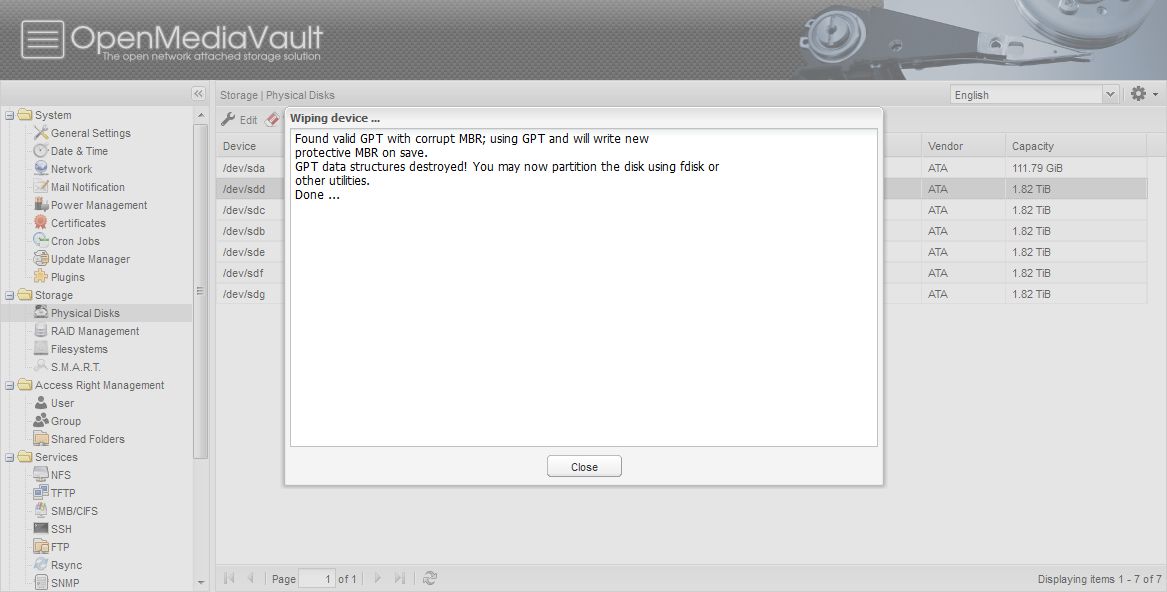
It may be a good idea to go through the hard drives one by one and “Wipe” them. Drives pulled from systems that have data present may present an issue when trying to add to a RAID array. The prompts will guide you through the wipe, and selecting the option for a Quick wipe is the way to go.
After all your hard drives are accounted for, you can create your RAID array by navigating to RAID Management under Storage.
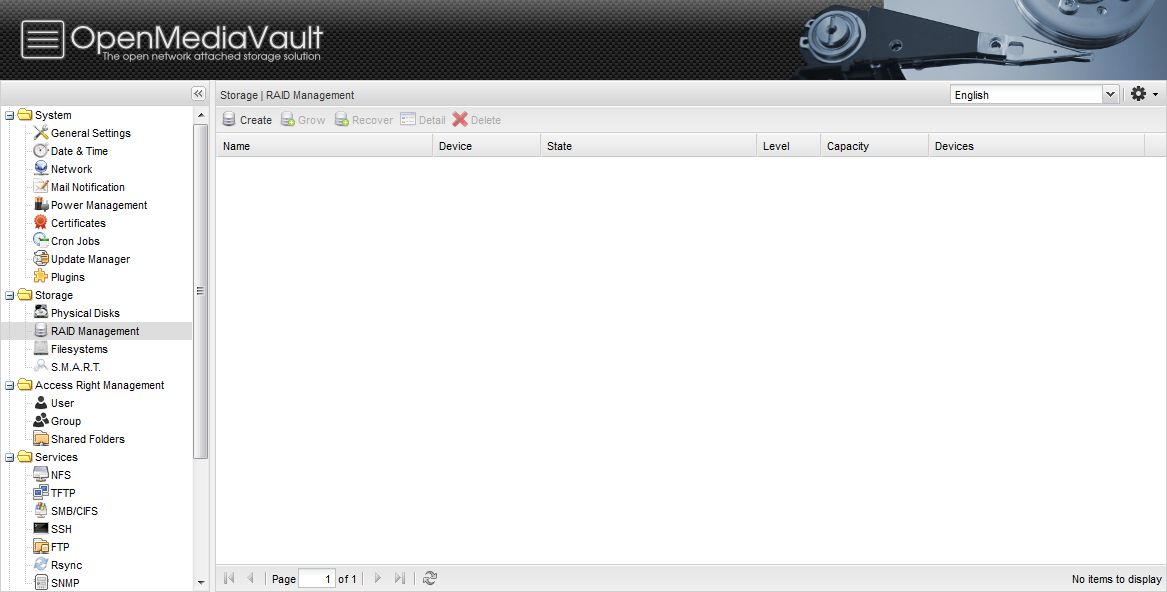
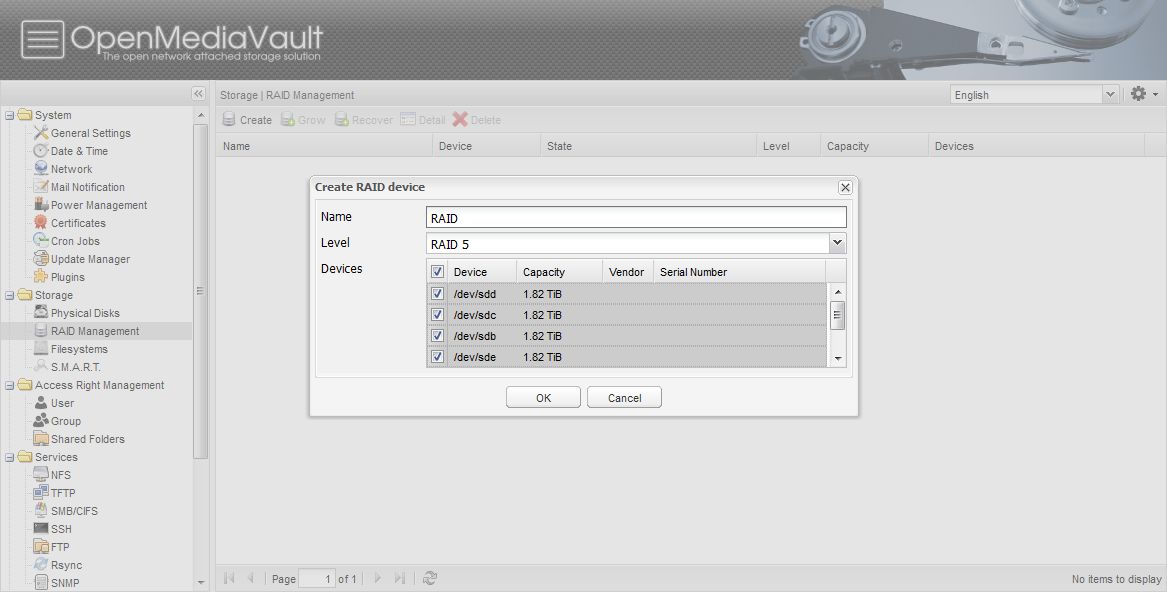
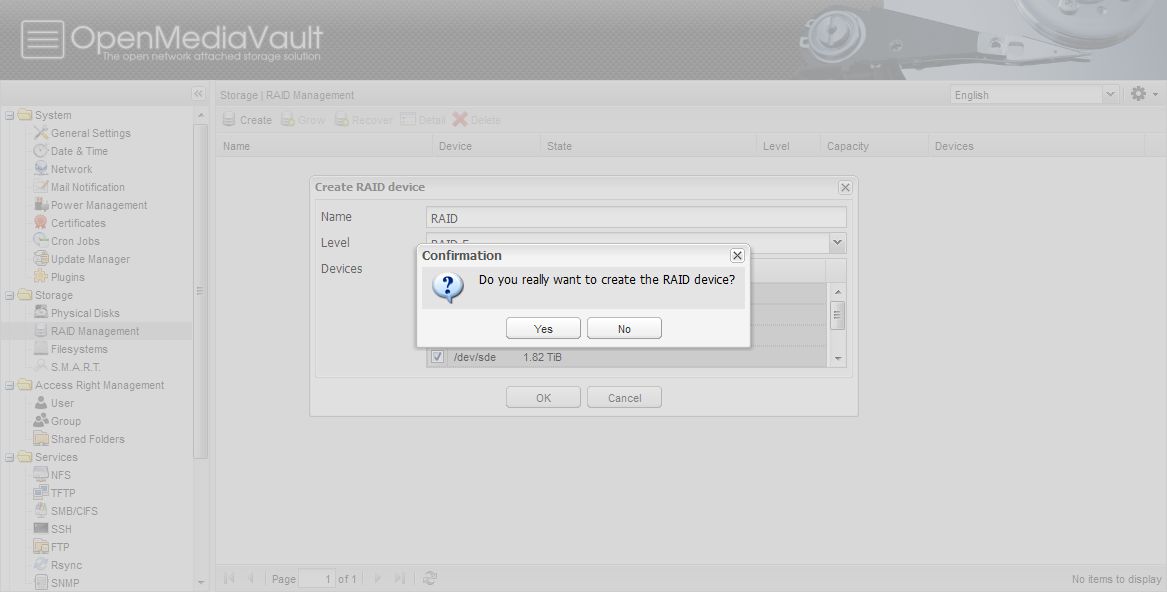
Click Create, this will bring up a dialogue box that will allow you name the RAID array, choose the RAID level you want, and select the hard drives you want to be included in the array. For our purposes, we like RAID 5 because of its ability to recover from a drive failure and its fast read/write speeds.
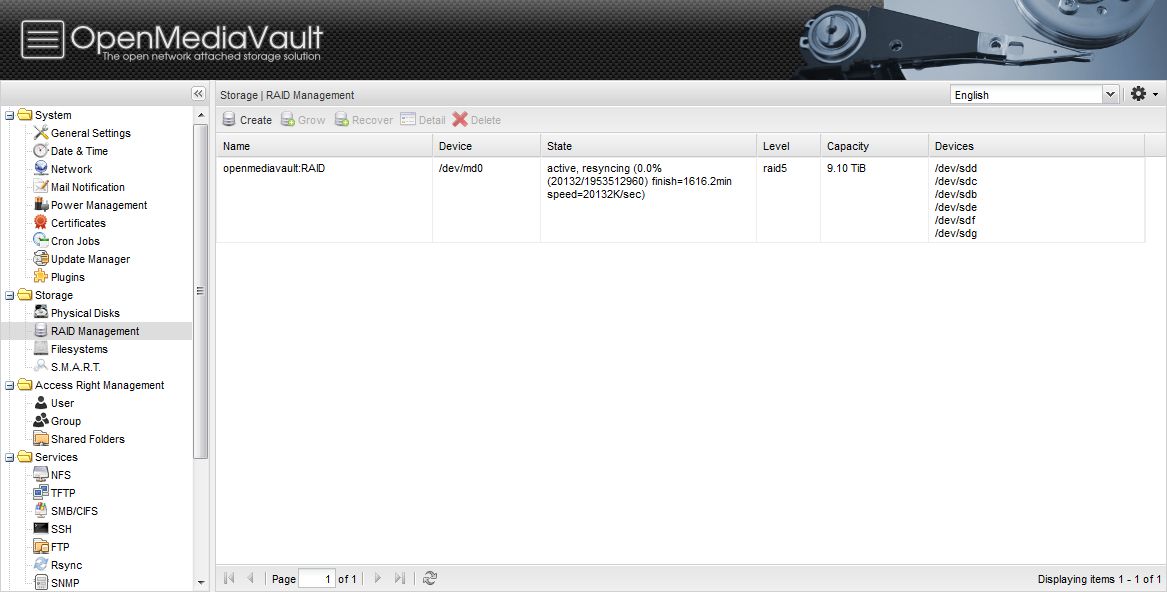
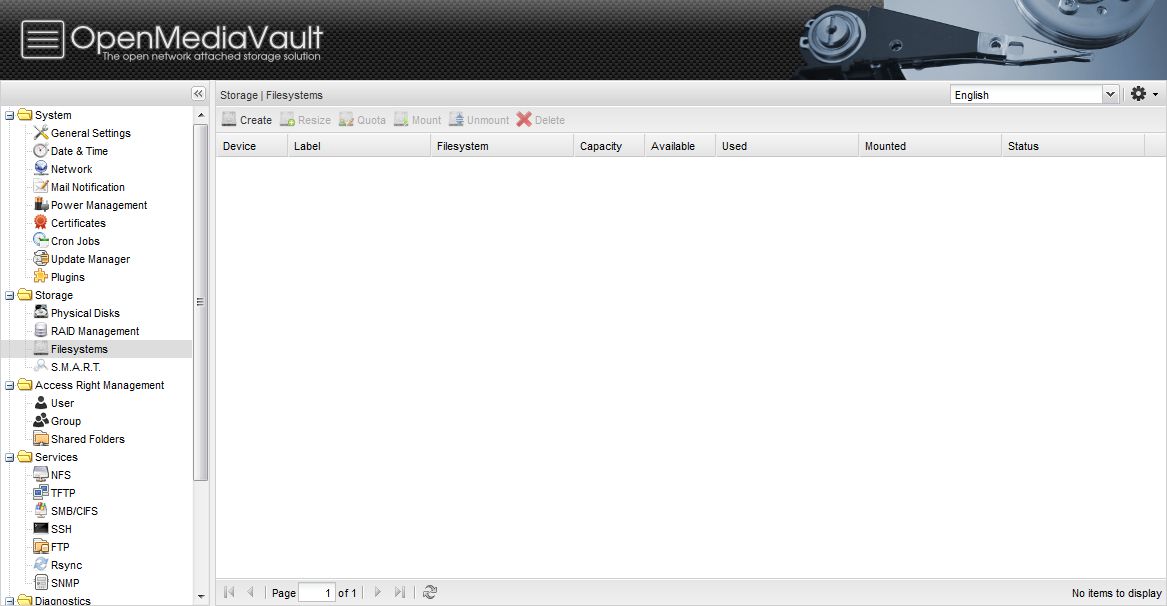
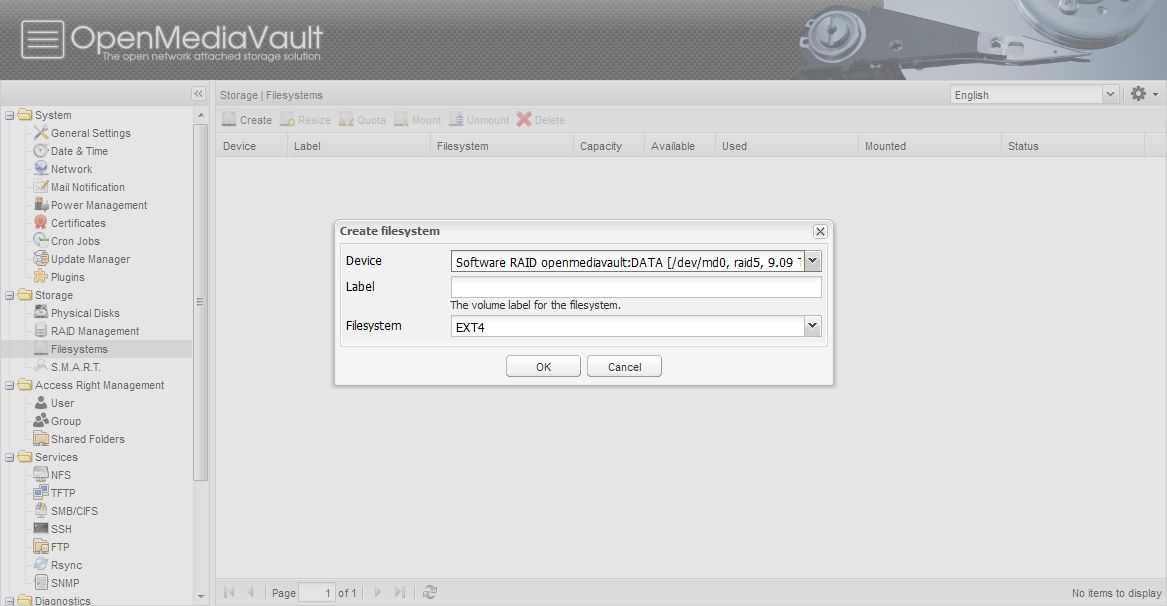
Create a Filesystem by selecting the Filesystems option under Storage. Click Create, choose a device from the dropdown (the RAID array you just created should be listed there), create a useful label, and choose your filesystem.

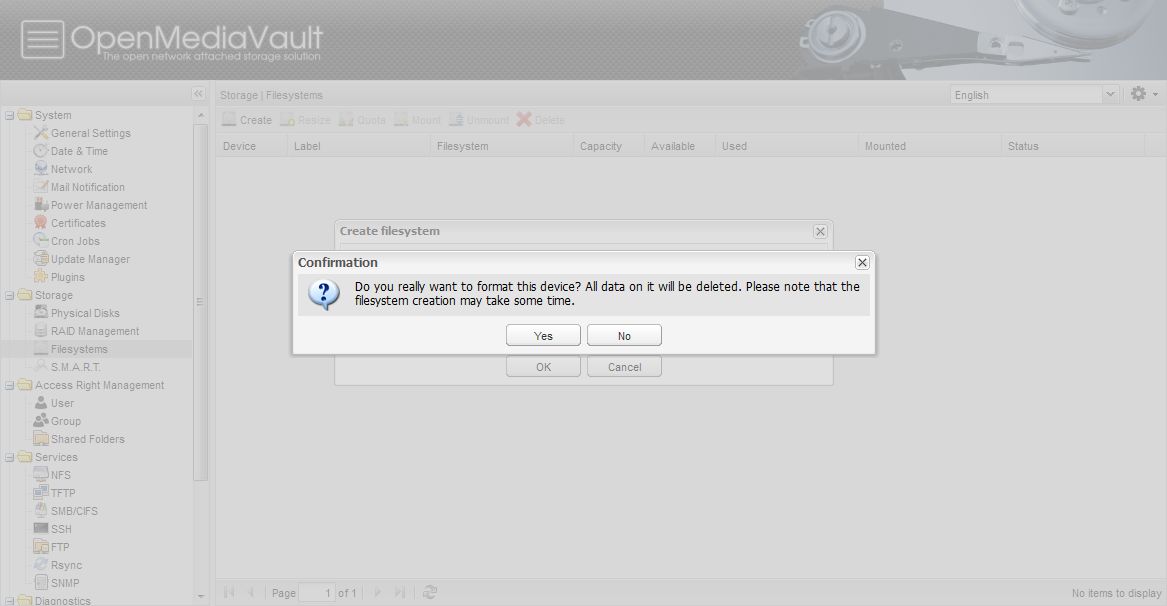
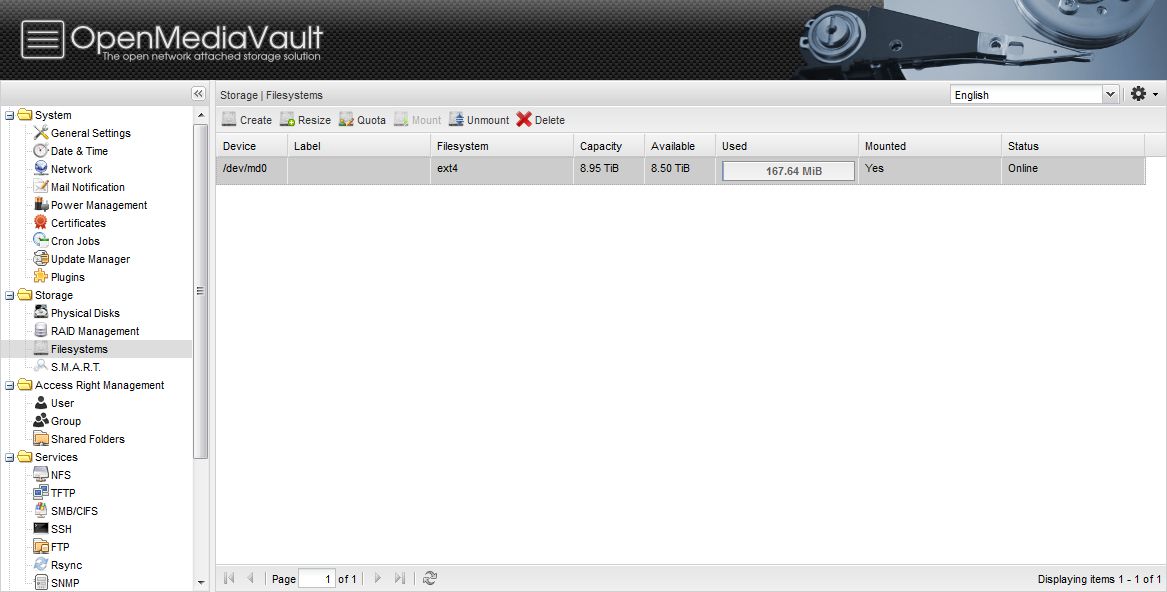
The status of the filesystem will remain as Initializing until the system is ready. At that point, there are only a few things left to do to have a usable NAS. We need to mount the filesystem by selecting the file system you just created and choosing the menu item “Mount”.


Save some cash, use nas4free and find a motherboard with enough onboard slots and use ZFS. You wont have to buy an SSD (just a usb stick as it runs in RAM), nor will you have to buy a controller card that. If the controller card dies, it will be hard to replace or get your data back. Whereas with ZFS, you can just plug into any other motherboard and re-import.
I just happen to have 8x2Tb drives sitting around, poor mans build my a$$
The build is cheap… the drives aren’t. All the NAS reviews I do… I have much more than 8x2tb lying around. They can be had for 79 a piece now…
would like to know about the 40TB build as i’ve recently filled my 9.5TB QNAP 659Pro+ and want to go homebrew
The build was actually completed before this article/build as I my needs were immediate. However, baby steps… it will be published soon.
oh nice, look forward to reading it!